crwdns2933423:0crwdne2933423:0

Electronics Skills Kit 101

crwdns2936315:0crwdne2936315:0
crwdns2936325:0crwdne2936325:0
crwdns2931653:04crwdne2931653:0
Electronics Skills Kit 101: crwdns2935265:00crwdnd2935265:01crwdnd2935265:02crwdne2935265:0 Electronics Skills Kit 101: crwdns2935265:00crwdnd2935265:02crwdnd2935265:02crwdne2935265:0
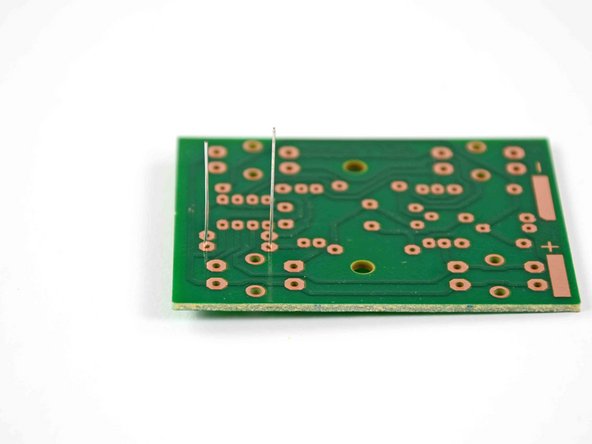
  • Place the leads of the resistor through the holes on either side of the rectangle marked R1 on the circuit board.

  • Resistors do not have to be installed in a particular orientation. Either lead can go into either hole.

  • Turn the board over so that the copper traces are facing up and the resistor leads are pointing straight up in the air, as seen in the second picture.

  • You may also bend the leads outward to hold the resistor in place, but this is not necessary. As per NASA guidelines, any angle up to 30° down from vertical is acceptable.

crwdns2935429:0crwdne2935429:0

crwdns2935429:0crwdne2935429:0

crwdns2935429:0crwdne2935429:0

crwdns2935429:0crwdne2935429:0

crwdns2944171:0crwdnd2944171:0crwdnd2944171:0crwdnd2944171:0crwdne2944171:0