crwdns2933423:0crwdne2933423:0

Electronics Skills Kit 101

crwdns2936315:0crwdne2936315:0
crwdns2936321:0crwdne2936321:0
crwdns2931653:04crwdne2931653:0
Electronics Skills Kit 101: crwdns2935265:00crwdnd2935265:01crwdnd2935265:02crwdne2935265:0 Electronics Skills Kit 101: crwdns2935265:00crwdnd2935265:02crwdnd2935265:02crwdne2935265:0
  • Place the leads of the resistor through the holes on either side of the rectangle marked R1 on the circuit board.

  • Resistors do not have to be installed in a particular orientation. Either lead can go into either hole.

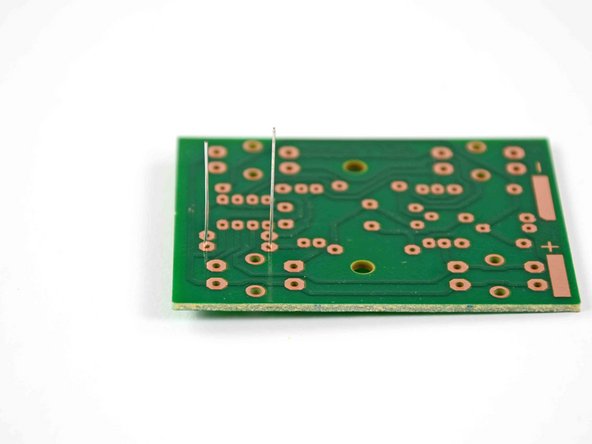
  • Turn the board over so that the copper traces are facing up and the resistor leads are pointing straight up in the air, as seen in the second picture.

  • You may also bend the leads outward to hold the resistor in place, but this is not necessary. As per NASA guidelines, any angle up to 30° down from vertical is acceptable.

Fai passare le gambe dei resistori nei fori su entrambi i lati del rettangolo chiamato R1 sulla scheda logica.

I resistori non devono essere installati in una particolare direzione. Entrambe le gambe possono andare in entrambi i fori.

Gira la scheda a faccia in giù in modo che le tracce in rame siano rivolte verso l'alto, come mostrato nella seconda immagine.

Puoi anche piegare le gambe verso l'esterno per tenere fermo il resistore, ma non è necessario. Come nelle linee guida della NASA, qualsiasi angolo minore di 30° dalla verticale è accettabile.

crwdns2944171:0crwdnd2944171:0crwdnd2944171:0crwdnd2944171:0crwdne2944171:0