crwdns2933423:0crwdne2933423:0

Kit d'introduction à l'électronique

crwdns2936315:0crwdne2936315:0
crwdns2936317:0crwdne2936317:0
crwdns2931653:03crwdne2931653:0
Electronics Skills Kit 101: crwdns2935265:00crwdnd2935265:01crwdnd2935265:03crwdne2935265:0 Electronics Skills Kit 101: crwdns2935265:00crwdnd2935265:02crwdnd2935265:03crwdne2935265:0 Electronics Skills Kit 101: crwdns2935265:00crwdnd2935265:03crwdnd2935265:03crwdne2935265:0
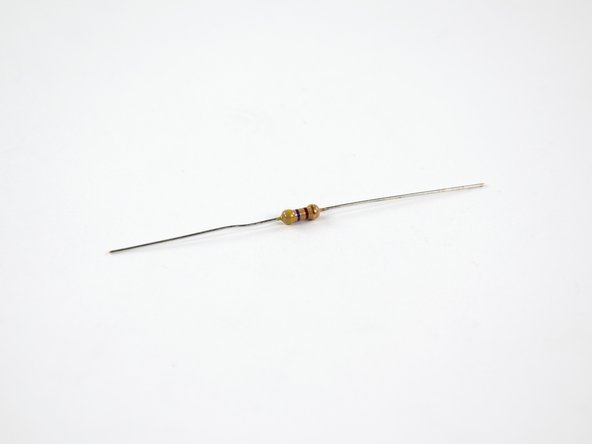
  • We'll start with resistor R1 in your kit, which has yellow, purple, brown, and gold rings on it (more on what these colored rings mean later).

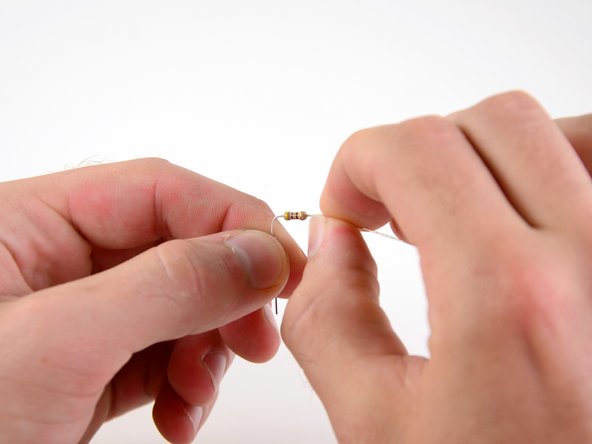
  • Bend the leads of the resistor to 90o angles about 1.5 mm away from the body of the resistor.

Commençons avec la résistance R1 de votre kit, sur laquelle on trouve des anneaux jaune, violet, marron et doré (plus de détails sur la signification de ces anneaux colorés plus tard).

Pliez les pattes de la résistance à 90° à environ 1,5 mm du corps de la résistance.

crwdns2944171:0crwdnd2944171:0crwdnd2944171:0crwdnd2944171:0crwdne2944171:0