crwdns2935425:09crwdne2935425:0
crwdns2931653:09crwdne2931653:0

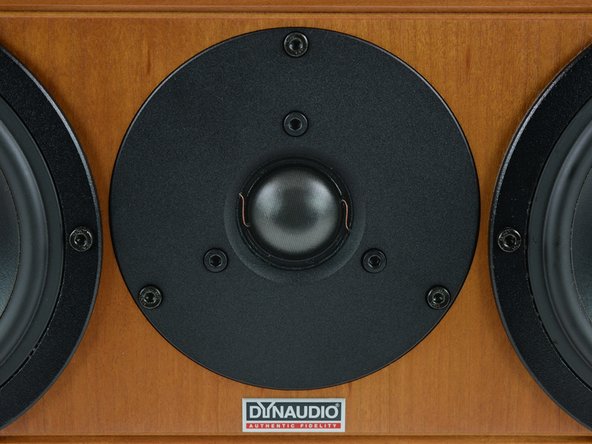


Installing the Replacement Tweeter Unit
-
Carefully move the cables back inside the cabinet while moving the tweeter chassis toward its recessed location.
-
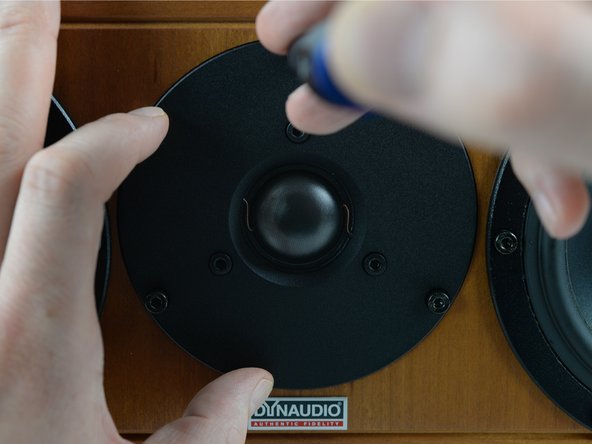
While supporting the chassis with your one hand while it's in place, insert the upper screw and screw it in lightly to fix the component in its correct position.
-
Insert both lower screws and screw them in lightly with your fingers.
-
Finally, use your Hex wrench hand tool and tighten all three screws finger tight until the component is securely locked in its place. Make sure not to overtighten the screws.
crwdns2944171:0crwdnd2944171:0crwdnd2944171:0crwdnd2944171:0crwdne2944171:0