crwdns2935425:07crwdne2935425:0
crwdns2931653:07crwdne2931653:0

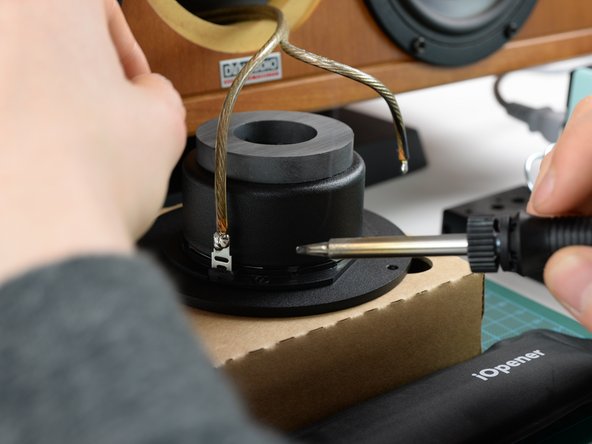
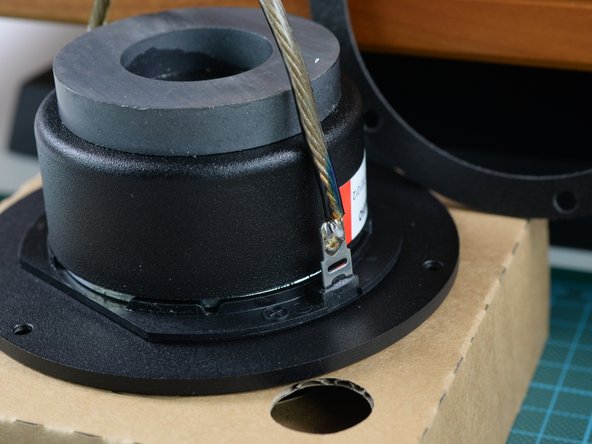


Soldering Cables to Replacement Unit
-
Hold the correct cable end to the correct connector bracket. The bead of solder on the cable end should rest firmly on the bracket.
-
Heat the soldering iron and hold its tip against the metal bracket while touching the solder bead.
-
Wait unil the solder liquifies and starts to fuse with the metal bracket.
-
Remove the soldering iron as soon as the solder has started to create an even surface on the bracket. Hold the cable in place until the solder cools. Then repeat this process with the second cable and connector.
crwdns2944171:0crwdnd2944171:0crwdnd2944171:0crwdnd2944171:0crwdne2944171:0