crwdns2933423:0crwdne2933423:0

iPod 5. Generation (Video) seitliche Dämpfer austauschen

crwdns2935425:01crwdne2935425:0

crwdns2936315:0crwdne2936315:0
crwdns2936319:0crwdne2936319:0
crwdns2931653:01crwdne2931653:0
iPod 5th Generation (Video) Side Bumpers Replacement: crwdns2935265:00crwdnd2935265:01crwdnd2935265:03crwdne2935265:0 iPod 5th Generation (Video) Side Bumpers Replacement: crwdns2935265:00crwdnd2935265:02crwdnd2935265:03crwdne2935265:0 iPod 5th Generation (Video) Side Bumpers Replacement: crwdns2935265:00crwdnd2935265:03crwdnd2935265:03crwdne2935265:0
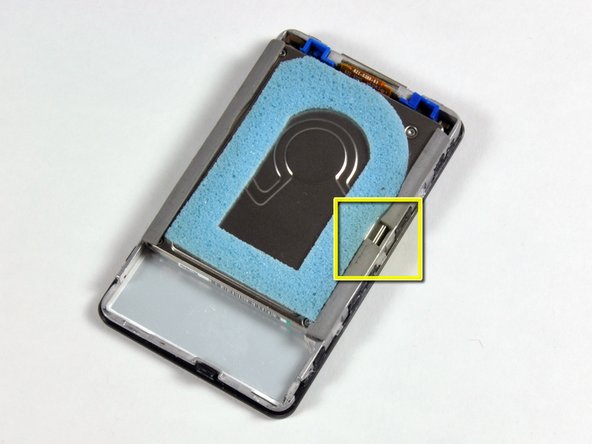
  • The rubber side bumpers should be installed as pictured:

  • The side of the drive that's being propped by the hard drive holding bracket should have the rubber side bumper that has a sidewall on the corner, as indicated by the red box.

  • There should be a space in between the two smaller rubber side bumpers, as indicated by the yellow box.

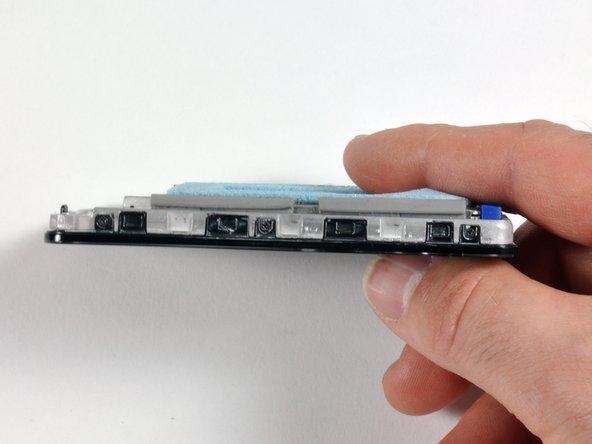
  • Both sides of the drive should be seated snugly, as shown in the third picture.

Die seitlichen Gummidämpfer an der Festplatte sollten wie gezeigt eingebaut werden:

Die Seite der Festplatte, welche von der Festplattenhalterung abgestürzt wird, sollte den Gummidämpfer mit der Seitenwand an der Ecke haben, so wie im roten Rechteck markiert.

Zwischen den beiden kleineren Gummidämpfern sollte ein kleiner Abstand sein, so wie im gelben Rechteck markiert.

Beide Seiten der Festplatte sollten sehr eng sitzen, so wie im dritten Bild gezeigt.

crwdns2944171:0crwdnd2944171:0crwdnd2944171:0crwdnd2944171:0crwdne2944171:0