crwdns2933423:0crwdne2933423:0

Remplacement de la coque extérieure de l'OnHub

crwdns2931529:0crwdnd2931529:0crwdnd2931529:0crwdnd2931529:02crwdnd2931529:0crwdne2931529:0

crwdns2936315:0crwdne2936315:0
crwdns2936317:0crwdne2936317:0
crwdns2931653:05crwdne2931653:0
OnHub Outer Casing Replacement: crwdns2935265:00crwdnd2935265:01crwdnd2935265:02crwdne2935265:0 OnHub Outer Casing Replacement: crwdns2935265:00crwdnd2935265:02crwdnd2935265:02crwdne2935265:0
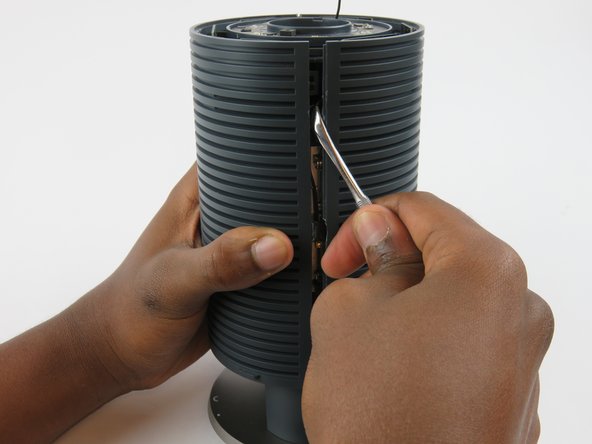
  • Once the two screws are removed from the base, it is time to split the casing apart.

  • It is okay if a couple clips break. It will still hold together with a few remaining.

  • Wedge a spudger between the two casing halves, and pry the clips apart starting from the top

  • There are three hooking style clips in total.

Une fois les deux vis retirées de la base, il est temps de séparer le boîtier.

Ce n'est pas grave si quelques clips se cassent. Il tiendra toujours ensemble avec quelques restants.

Insérez une spatule entre les deux moitiés du boîtier et séparez les clips en partant du haut.

Il y a trois clips de style crochet au total.

crwdns2944171:0crwdnd2944171:0crwdnd2944171:0crwdnd2944171:0crwdne2944171:0