crwdns2935425:01crwdne2935425:0
crwdns2931653:01crwdne2931653:0


-
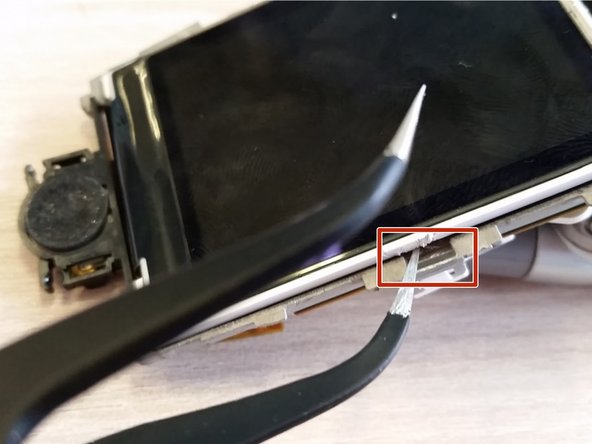
At rectangular holes on the sides of screen, use tweezers to remove the screen from the gray plastic component by slipping tweezers under the white tray holding the screen.
| - | [* red] At rectangular holes on the sides of screen, use tweezers to remove the screen from the gray plastic component by slipping tweezers under the white tray holding the screen. |
|---|---|
| + | [* red] At rectangular holes on the sides of screen, use [product|IF145-020|tweezers] to remove the screen from the gray plastic component by slipping tweezers under the white tray holding the screen. |
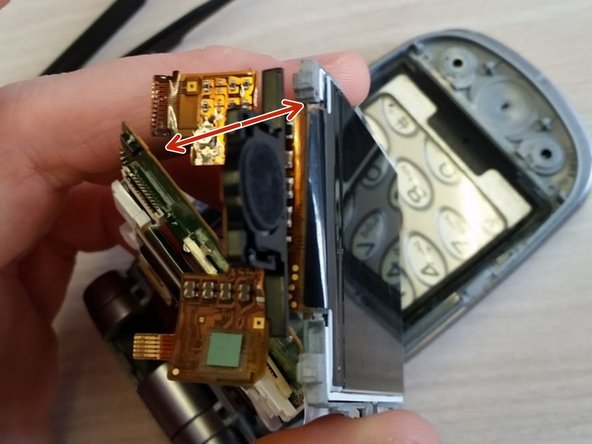
| [* icon_note] After the screen should only remain attached to gray component due to the ribbon at the top which connects the screen to the circuit board. |
crwdns2944171:0crwdnd2944171:0crwdnd2944171:0crwdnd2944171:0crwdne2944171:0