crwdns2933423:0crwdne2933423:0

Etape initial pour le retrait de la caméra du Panasonic EB-GD88

crwdns2931529:0crwdnd2931529:0crwdnd2931529:0crwdnd2931529:02crwdnd2931529:0crwdne2931529:0

crwdns2935425:05crwdne2935425:0

crwdns2936315:0crwdne2936315:0
crwdns2936317:0crwdne2936317:0
crwdns2931653:05crwdne2931653:0
Panasonic EB-GD88 Initial Steps to replacing the camera and screen assembly: crwdns2935265:00crwdnd2935265:01crwdnd2935265:03crwdne2935265:0 Panasonic EB-GD88 Initial Steps to replacing the camera and screen assembly: crwdns2935265:00crwdnd2935265:02crwdnd2935265:03crwdne2935265:0 Panasonic EB-GD88 Initial Steps to replacing the camera and screen assembly: crwdns2935265:00crwdnd2935265:03crwdnd2935265:03crwdne2935265:0
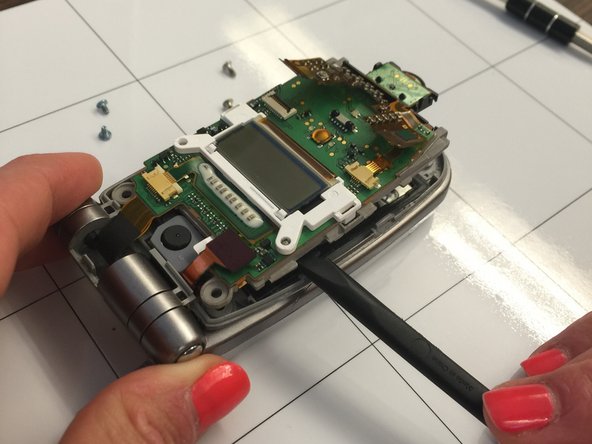
  • Insert nylon spudger or curved tweezers into small gap between the phone's outer gray casing and the inner gray plastic compartment (which holds the green circuit board and screen together). This gap is indicated by red arrows.

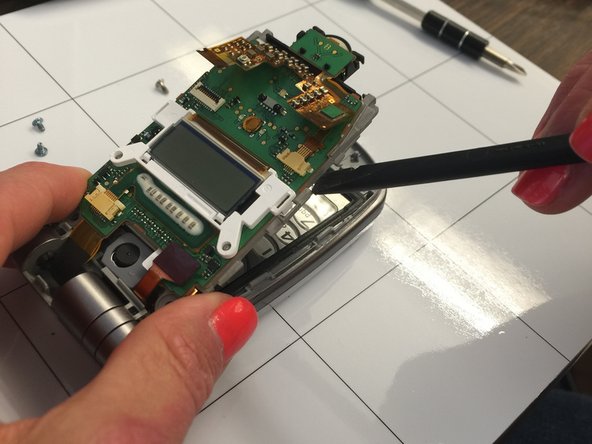
  • Use the tools as leverage to pop out inner gray compartment unit (screen, gray plastic, and circuit board) away from the phones outer casing .

  • Place nylon spudger and tweezers in the space between the outer phone casing and the inner gray compartment.

Insérez le spudger en nylon ou les pinces incurvées dans un petit espace entre le boîtier gris extérieur du téléphone et le compartiment interne gris en plastique (qui tient la carte de circuit vert et l'écran ensemble). Cet écart est indiqué par des flèches rouges.

Utilisez les outils comme levier pour faire sortir l'unité du compartiment gris interne (écran, plastique gris et carte de circuit imprimé) de l'enveloppe extérieure du téléphone.

Placez le spudger en nylon et la pince à épiler dans l'espace entre le boîtier du téléphone externe et le compartiment gris interne.

crwdns2944171:0crwdnd2944171:0crwdnd2944171:0crwdnd2944171:0crwdne2944171:0