crwdns2933423:0crwdne2933423:0

Etape initial pour le retrait de la caméra du Panasonic EB-GD88

crwdns2931529:0crwdnd2931529:0crwdnd2931529:0crwdnd2931529:02crwdnd2931529:0crwdne2931529:0

crwdns2936315:0crwdne2936315:0
crwdns2936317:0crwdne2936317:0
crwdns2931653:03crwdne2931653:0
Panasonic EB-GD88 Initial Steps to replacing the camera and screen assembly: crwdns2935265:00crwdnd2935265:01crwdnd2935265:03crwdne2935265:0 Panasonic EB-GD88 Initial Steps to replacing the camera and screen assembly: crwdns2935265:00crwdnd2935265:02crwdnd2935265:03crwdne2935265:0 Panasonic EB-GD88 Initial Steps to replacing the camera and screen assembly: crwdns2935265:00crwdnd2935265:03crwdnd2935265:03crwdne2935265:0
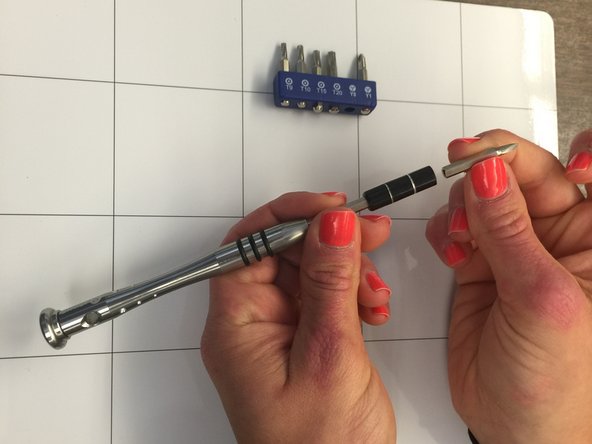
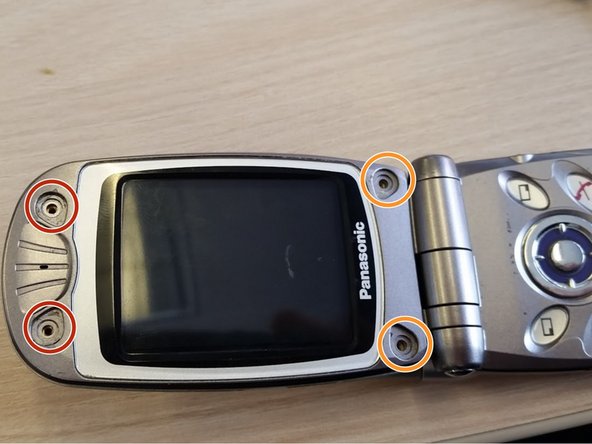
  • Using a Y0 tri-wing screwdriver, found in the 54 bit driver kit, remove the two screws above the screen. Twist the screws counterclockwise to remove.

  • These two screws are blueish

  • Using a Y0 tri-wing screwdriver, remove the two screws below the screen. Twist the screws counterclockwise to remove.

  • These two screws are silver and longer than the bluish.

À l'aide d'un tournevis cruciforme Y0, que vous trouverez dans le kit de tournevis 54 bits, retirez les deux vis au-dessus de l'écran. Tournez les vis dans le sens antihoraire pour les retirer.

Ces deux vis sont bleutées

À l'aide d'un tournevis Tri-Wing Y0, retirez les deux vis sous l'écran. Tournez les vis dans le sens antihoraire pour les retirer.

Ces deux vis sont argentées et plus longues que la bleue.

crwdns2944171:0crwdnd2944171:0crwdnd2944171:0crwdnd2944171:0crwdne2944171:0