crwdns2933423:0crwdne2933423:0

Smontaggio PlayStation 2 Slimline

crwdns2936315:0crwdne2936315:0
crwdns2936321:0crwdne2936321:0
crwdns2931653:07crwdne2931653:0
PlayStation 2 Slimline Teardown: crwdns2935265:00crwdnd2935265:01crwdnd2935265:03crwdne2935265:0 PlayStation 2 Slimline Teardown: crwdns2935265:00crwdnd2935265:02crwdnd2935265:03crwdne2935265:0 PlayStation 2 Slimline Teardown: crwdns2935265:00crwdnd2935265:03crwdnd2935265:03crwdne2935265:0
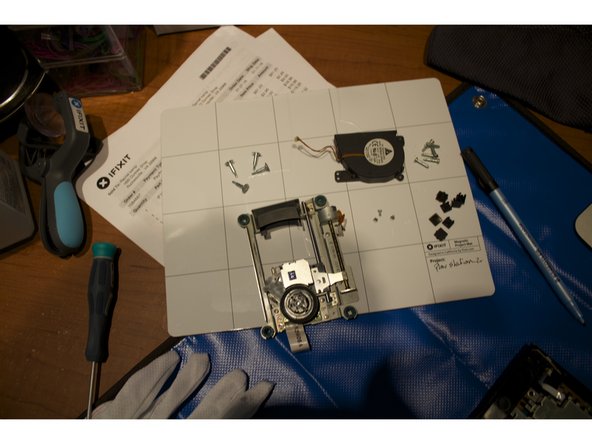
  • Optical drive on the motherboard

  • There are four 4.0 mm screws holding the optical drive.

  • Remove the four screws and place the optical drive with it's screws on your project mat.

L'unità disco ottico sulla scheda madre

Ci sono quattro viti da 4,0 mm a tenere ferma l'unità disco ottico.

Rimuovi le quattro viti e posiziona l'unità disco ottico con le sue viti sul tuo Project Mat.

crwdns2944171:0crwdnd2944171:0crwdnd2944171:0crwdnd2944171:0crwdne2944171:0