crwdns2935425:03crwdne2935425:0


-
Now the fun begins. I, unfortunately, don't have the wonderfully amazing iOpener so I had to use a heat gun and a lot of patience.
-
Lucky for me, the digitizer was already more broken than our economy so I wasn't stressed about damaging it more. I simply heated, pried gently, and repeated around the top and sides.
-
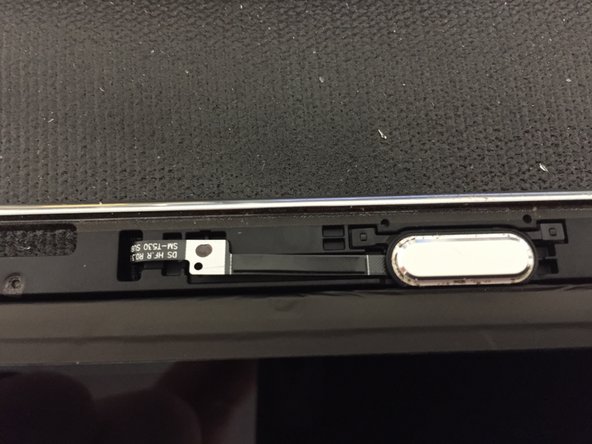
I saved the bottom, where the home button is, for last since I figured that there would be a small flex cable connected somehow.
-
I continued the heating and gentle coercion on the screen until I could see the home button and adjacent flex cable. I used a spudger to keep the cable from pulling loose from the mid-frame while I freed the digitizer from it's bonds and removed it from the device.
crwdns2944171:0crwdnd2944171:0crwdnd2944171:0crwdnd2944171:0crwdne2944171:0