crwdns2933423:0crwdne2933423:0

Demontage van de PlayStation 4 CUH-1200

crwdns2936315:0crwdne2936315:0
crwdns2936313:0crwdne2936313:0
crwdns2931653:08crwdne2931653:0
PlayStation 4 CUH-1200 Entire Console Disassembly, Remove the Power Supply: crwdns2935265:00crwdnd2935265:01crwdnd2935265:03crwdne2935265:0 PlayStation 4 CUH-1200 Entire Console Disassembly, Remove the Power Supply: crwdns2935265:00crwdnd2935265:02crwdnd2935265:03crwdne2935265:0 PlayStation 4 CUH-1200 Entire Console Disassembly, Remove the Power Supply: crwdns2935265:00crwdnd2935265:03crwdnd2935265:03crwdne2935265:0
Remove the Power Supply
  • Remove the three T9 torx screws then the two phillips PH 0 long screws.

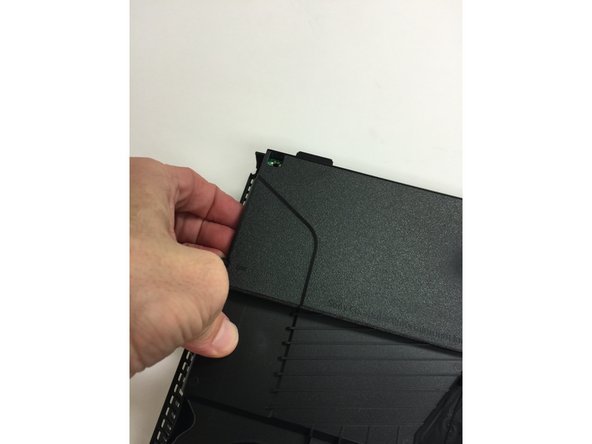
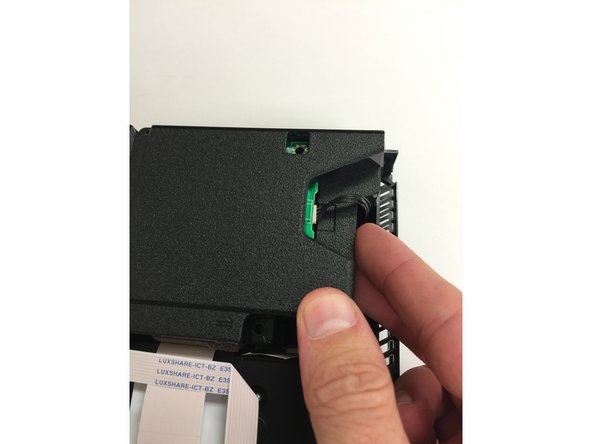
  • Pull up on the left side (the side without the four wires), then on the right side. The right side of the power supply will be harder to pull up on so you'll need to pull firmly.

  • After you get it loose you'll be able to pull it up a bit but it will still be connected by the four wire connector so don't pull it all the way out until that has been disconnected (shown in the next step).

Verwijder eerst de drie T9 Torx-schroeven en daarna de twee lange Phillips PH0-schroeven.

Trek eerst de linkerzijde (de zijde zoner vier kabels) en daarna de rechterzijde omhoog. De rechterzijde zal wat lastiger omhoog te trekken zijn, dus zorg dat je hier rekening mee houdt.

Als je de stroomvoorziening los hebt weten te trekken, kun je deze nog iets verder omhoog tillen. De stroomvoorziening is echter nog steeds met de vierkabelaansluiting verbonden, dus trek het onderdeel er nog niet volledig uit totdat deze helemaal is losgekoppeld (te zien in de volgende stap).

crwdns2944171:0crwdnd2944171:0crwdnd2944171:0crwdnd2944171:0crwdne2944171:0