crwdns2935425:03crwdne2935425:0
crwdns2931653:03crwdne2931653:0


-
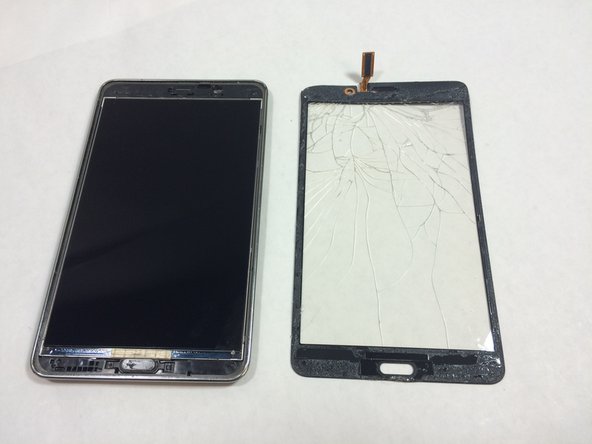
After you’ve removed the glass from the screen, feed the chip connection through the phone casing.
| - | [* black] Once you've loosened the screen from the tablet, be sure to feed the chip connection through its designated slot as indicated by the second photo. |
|---|---|
| - | [* icon_note] The screen may need a little more force to separate at the top end of the tablet. |
| - | [* black] Now the hardest part is done! |
| + | [* red] After you’ve removed the glass from the screen, feed the chip connection through the phone casing. |
| + | [* icon_note] The screen may need a little more force to separate from the upper edge of the tablet. |
crwdns2944171:0crwdnd2944171:0crwdnd2944171:0crwdnd2944171:0crwdne2944171:0