crwdns2935425:01crwdne2935425:0
crwdns2931653:01crwdne2931653:0


-
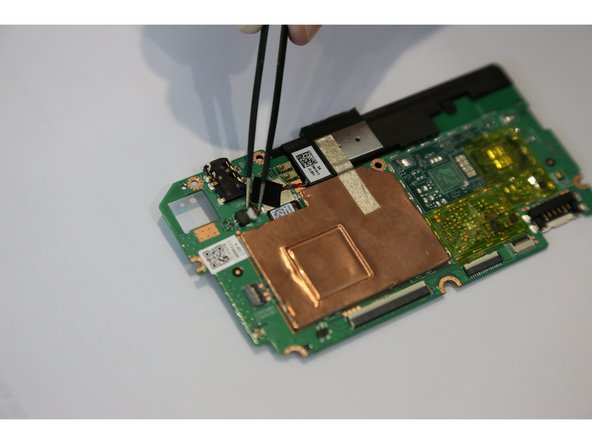
Locate the speaker connector on the motherboard.
-
Using tweezers, carefully remove the speaker connector.
-
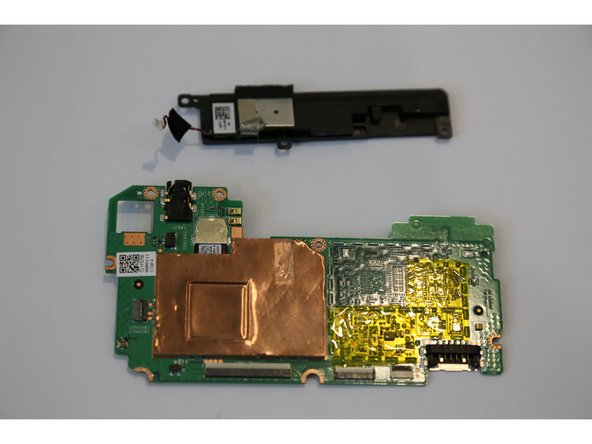
After removing the speaker connector, you can easily take the speaker out.
| [* red] Locate the speaker connector on the motherboard. | |
| - | [* black] Using tweezers, carefully remove the speaker connector. |
| + | [* black] Using [product|IF145-020|tweezers], carefully remove the speaker connector. |
| [* black] After removing the speaker connector, you can easily take the speaker out. | |
| [* icon_caution] Because the speaker is on the motherboard, be careful not to damage any other parts. | |
| [* icon_reminder] There are two speakers on the tablet |
crwdns2944171:0crwdnd2944171:0crwdnd2944171:0crwdnd2944171:0crwdne2944171:0