crwdns2933423:0crwdne2933423:0

Keurig Coffee Makerの分解と洗浄方法

crwdns2936315:0crwdne2936315:0
crwdns2936323:0crwdne2936323:0
crwdns2931653:04crwdne2931653:0
How to open and clean Keurig Coffee Maker: crwdns2935265:00crwdnd2935265:01crwdnd2935265:03crwdne2935265:0 How to open and clean Keurig Coffee Maker: crwdns2935265:00crwdnd2935265:02crwdnd2935265:03crwdne2935265:0 How to open and clean Keurig Coffee Maker: crwdns2935265:00crwdnd2935265:03crwdnd2935265:03crwdne2935265:0
  • Top part of the check valve on the bottom. there is a fine screen that acts as a filter. Remove that by removing the three Phillips screws with a long #2 Phillips screwdriver. Clean the screen under running water with a brush. Reassemble after proper cleaning.

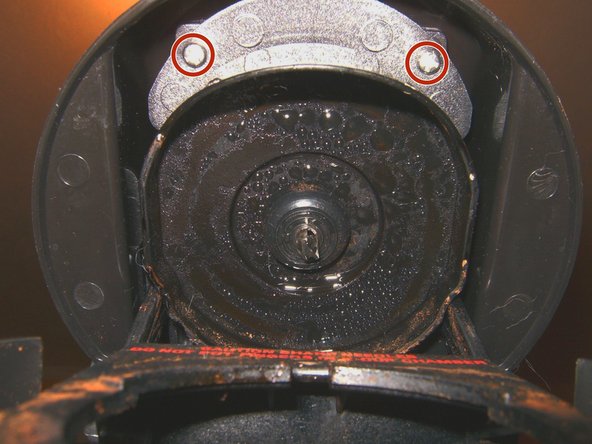
  • Next step is to remove the top cover to get to the water supply to the K-cup. Open the Keurig. remove two Phillips screws that hold it in place.

  • Lift the top cover up and forward to remove it.

底部のチェックバルブの上部。 フィルタとして機能する細かい網目があります。 長い2番のプラスドライバーで3本のプラスネジを外して取り外します。 流水中のブラシでをきれいにします。 清掃後、組み立てを行ってください。

次のステップは、トップカバーを外してK-cupへ水を供給することです。 Keurigを開きます。 所定の位置に固定している2本のプラスネジを取り外します。

上部カバーを持ち上げて前方に持ち上げて取り外します。

crwdns2944171:0crwdnd2944171:0crwdnd2944171:0crwdnd2944171:0crwdne2944171:0