crwdns2931529:0crwdnd2931529:0crwdnd2931529:0crwdnd2931529:013crwdnd2931529:0crwdne2931529:0
crwdns2935425:02crwdne2935425:0


-
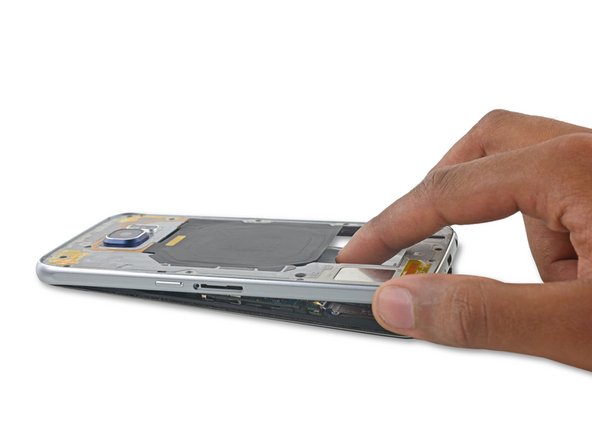
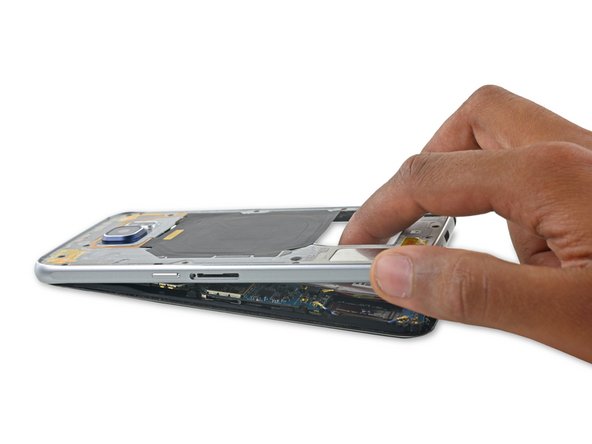
Firmly grasp the edge of the midframe assembly.
-
Lift up on the midframe assembly while pushing down on the battery to separate the midframe assembly from the rest of the phone.
-
While lifting the midframe, be careful to avoid snagging it on the audio jack or charging port.
-
Once the midframe is partially seperated, carefully run an opening pick around the edges of the rest of the phone to separate the top of the midframe.
-
To avoid damage to the headphone jack, remove the top of the midframe first, then push the midframe downwards to disengage it from the headphone jack.
-
You may need to heat and apply an iOpener to the edges of the display to soften the display adhesive if midframe separation is difficult.
crwdns2944171:0crwdnd2944171:0crwdnd2944171:0crwdnd2944171:0crwdne2944171:0