crwdns2933423:0crwdne2933423:0

MacBook Air 11インチ Late 2010ディスプレイアセンブリ交換

crwdns2931529:0crwdnd2931529:0crwdnd2931529:0crwdnd2931529:02crwdnd2931529:0crwdne2931529:0

crwdns2935425:07crwdne2935425:0

crwdns2936315:0crwdne2936315:0
crwdns2936323:0crwdne2936323:0
crwdns2931653:07crwdne2931653:0
MacBook Air 11" Late 2010 Display Assembly Replacement: crwdns2935265:00crwdnd2935265:01crwdnd2935265:02crwdne2935265:0 MacBook Air 11" Late 2010 Display Assembly Replacement: crwdns2935265:00crwdnd2935265:02crwdnd2935265:02crwdne2935265:0
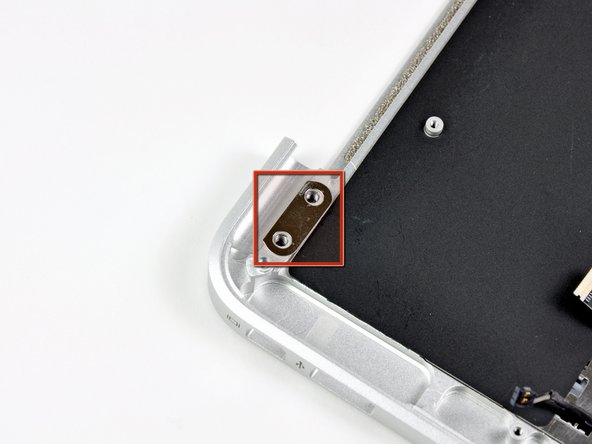
  • Push the upper case slightly toward the display assembly, then rotate it away from the front of the display assembly.

  • Once the two display hinges have cleared the upper case, remove the display and set it aside.

  • Keep track of the shims under each of the two display brackets. When installing the display, be sure a shim is installed under each display bracket (against the upper case) as shown in the third picture.

上部ケースをディスプレイアセンブリに向かって少し押し込み、次にディスプレイアセンブリの前面から回しながら外します。

上部ケースから2つのディスプレイヒンジが外れたら、ディスプレイを脇に置きます。

各ディスプレイブラケットの下のシムは無くさないようにしてください。ディスプレイを取り付ける際、3番目の写真のように各ディスプレイブラケットの下(上部ケースに対して)にシムが装着されている事を確認してください。

crwdns2944171:0crwdnd2944171:0crwdnd2944171:0crwdnd2944171:0crwdne2944171:0