crwdns2931529:0crwdnd2931529:0crwdnd2931529:0crwdnd2931529:05crwdnd2931529:0crwdne2931529:0
crwdns2935425:04crwdne2935425:0
crwdns2931653:04crwdne2931653:0


-
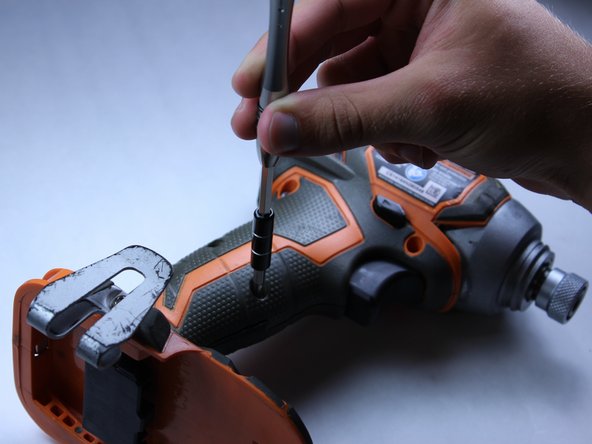
Unscrew the eight 15 mm T10 Torx screws from the housing
| [* red] Unscrew the eight 15 mm T10 Torx screws from the housing | |
| - | [* icon_note] The screw hole located nearest the battery port is deep and small. Most screwdrivers with replaceable bits will *** |
| + | [* icon_note] The screw hole located nearest the battery port is deep and small. Most screwdrivers with replaceable bits will ***not*** fit into the hole. Instead, use a conventional screwdriver that fits. |
crwdns2944171:0crwdnd2944171:0crwdnd2944171:0crwdnd2944171:0crwdne2944171:0