crwdns2933423:0crwdne2933423:0

Remplacement du panneau frontal complet de l'iPad Wi-Fi

crwdns2931527:0crwdnd2931527:0crwdnd2931527:0crwdnd2931527:0crwdne2931527:0

crwdns2936315:0crwdne2936315:0
crwdns2936317:0crwdne2936317:0
crwdns2931653:03crwdne2931653:0
iPad Wi-Fi Front Panel Assembly Replacement: crwdns2935265:00crwdnd2935265:01crwdnd2935265:02crwdne2935265:0 iPad Wi-Fi Front Panel Assembly Replacement: crwdns2935265:00crwdnd2935265:02crwdnd2935265:02crwdne2935265:0
  • Remove the piece of yellow tape securing the digitizer cable to the inner face of the front panel assembly, being careful not to rip the cable in the process.

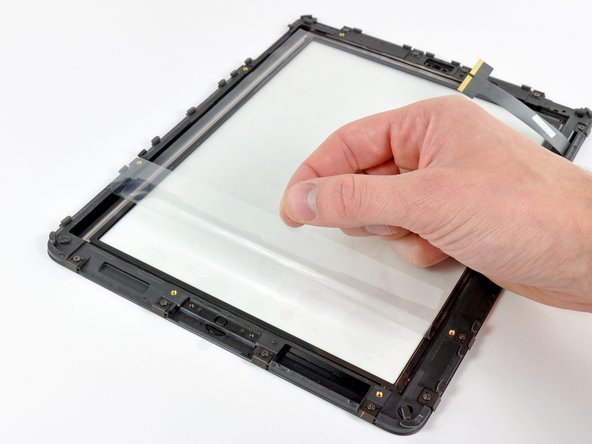
  • Peel the protective sheeting off the inner face of the front panel assembly.

  • Be careful not to get any fingerprints or dust on the inner face of the front panel, as they will be annoyingly visible when the device is turned on.

Retirez le morceau de ruban adhésif jaune fixant la nappe de la vitre tactile sur la face interne de l'ensemble panneau frontal, en veillant à ne pas déchirer la nappe.

Décollez la feuille de protection de la face interne de l'ensemble panneau frontal.

Veillez à ne pas laisser de traces de doigt ou des grains de poussière sur la face interne du panneau frontal, car ils seront visibles et gênants une fois l'appareil allumé.

crwdns2944171:0crwdnd2944171:0crwdnd2944171:0crwdnd2944171:0crwdne2944171:0