crwdns2933423:0crwdne2933423:0

Remplacement de l'écran LCD du Visual Land Prestige 10

crwdns2931527:0crwdnd2931527:0crwdnd2931527:0crwdnd2931527:0crwdne2931527:0

crwdns2935425:01crwdne2935425:0

crwdns2936315:0crwdne2936315:0
crwdns2936317:0crwdne2936317:0
crwdns2931653:01crwdne2931653:0
Visual Land Prestige 10 LCD Display Replacement: crwdns2935265:00crwdnd2935265:01crwdnd2935265:03crwdne2935265:0 Visual Land Prestige 10 LCD Display Replacement: crwdns2935265:00crwdnd2935265:02crwdnd2935265:03crwdne2935265:0 Visual Land Prestige 10 LCD Display Replacement: crwdns2935265:00crwdnd2935265:03crwdnd2935265:03crwdne2935265:0
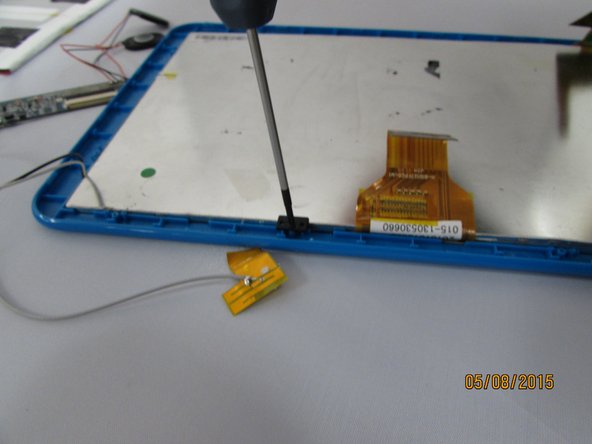
  • Remove the screws and plastic tabs holding the LCD Display and place them on the magnetic mat. Label them.

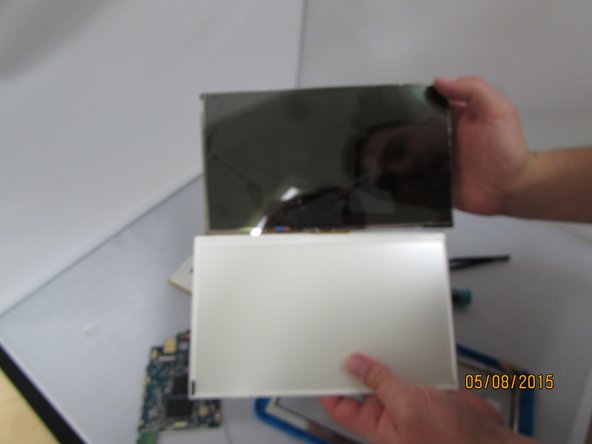
  • Gently remove the LCD Display and backlight by lifting up the LCD Connector with your fingers.

  • Set aside the LCD Assembly.

  • The LCD display and backlight are separated from one another. Be sure to remember how they are aligned when putting the device back together.

Retirez les vis et les languettes en plastique retenant l'écran LCD et placez-les sur le tapis magnétique. Étiquetez-les.

Retirez doucement l'écran LCD et le rétroéclairage en soulevant le connecteur LCD avec vos doigts.

Mettez de côté l'assemblage LCD.

L'écran LCD et le rétroéclairage sont séparés l'un de l'autre. Veillez à ne pas oublier leur alignement lors du remontage de l'appareil.

crwdns2944171:0crwdnd2944171:0crwdnd2944171:0crwdnd2944171:0crwdne2944171:0