crwdns2933423:0crwdne2933423:0

HP G62-453 disassembly for cleaning and thermal paste

crwdns2936315:0crwdne2936315:0
crwdns2936321:0crwdne2936321:0
crwdns2931653:07crwdne2931653:0
HP G62-453 disassembly for cleaning and thermal paste: crwdns2935265:00crwdnd2935265:01crwdnd2935265:03crwdne2935265:0 HP G62-453 disassembly for cleaning and thermal paste: crwdns2935265:00crwdnd2935265:02crwdnd2935265:03crwdne2935265:0 HP G62-453 disassembly for cleaning and thermal paste: crwdns2935265:00crwdnd2935265:03crwdnd2935265:03crwdne2935265:0
  • After removing all the screws, we can remove the keyboard.

  • Be careful because you can break keys or the entire keyboard.

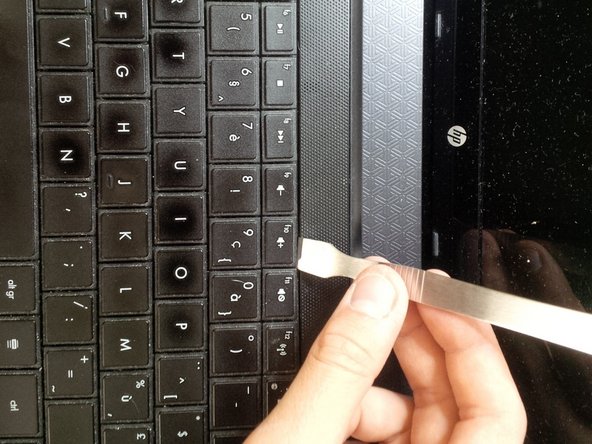
  • Use a spudger to pry and search for the "locks"

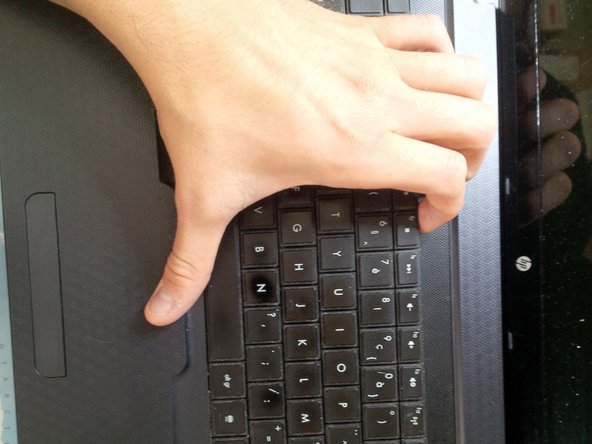
  • use your hand to gently remove the keyboard. You will here clicks.

  • Open the socket by clicking it up. Pull the connector gently away from the socket.

crwdns2935429:0crwdne2935429:0

crwdns2935429:0crwdne2935429:0

crwdns2935429:0crwdne2935429:0

crwdns2935429:0crwdne2935429:0

crwdns2935429:0crwdne2935429:0

crwdns2944171:0crwdnd2944171:0crwdnd2944171:0crwdnd2944171:0crwdne2944171:0