crwdns2931529:0crwdnd2931529:0crwdnd2931529:0crwdnd2931529:02crwdnd2931529:0crwdne2931529:0
crwdns2935425:02crwdne2935425:0
crwdns2931653:02crwdne2931653:0


-
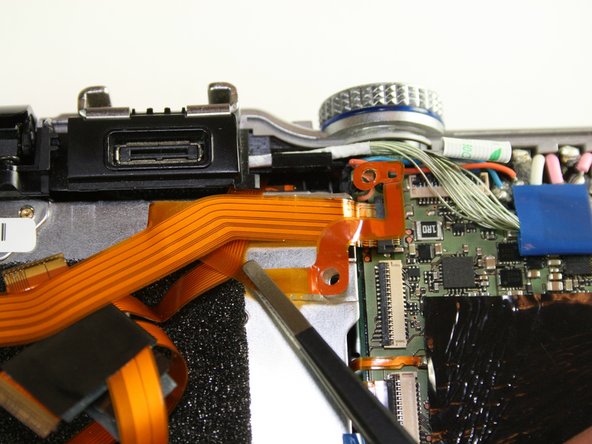
Using the #000 Phillips screwdriver, remove the 4.3 mm screw as shown by the screwdriver and the 6.0 mm screw holding down the ribbon.
-
Using tweezers, gently lift the ribbon off the sticky pad.
| [* red] Using the #000 Phillips screwdriver, remove the 4.3 mm screw as shown by the screwdriver and the 6.0 mm screw holding down the ribbon. | |
| [* icon_reminder] ***These screws have washers on them, do not to lose them.*** | |
| - | [* black] Using tweezers, gently lift the ribbon off the sticky pad. |
| + | [* black] Using [product|IF145-020|tweezers], gently lift the ribbon off the sticky pad. |
crwdns2944171:0crwdnd2944171:0crwdnd2944171:0crwdnd2944171:0crwdne2944171:0