crwdns2933423:0crwdne2933423:0

Smontaggio Samsung Galaxy S6 Edge

crwdns2936315:0crwdne2936315:0
crwdns2936321:0crwdne2936321:0
crwdns2931653:04crwdne2931653:0
Samsung Galaxy S6 Edge Teardown: crwdns2935265:00crwdnd2935265:01crwdnd2935265:03crwdne2935265:0 Samsung Galaxy S6 Edge Teardown: crwdns2935265:00crwdnd2935265:02crwdnd2935265:03crwdne2935265:0 Samsung Galaxy S6 Edge Teardown: crwdns2935265:00crwdnd2935265:03crwdnd2935265:03crwdne2935265:0
  • Now for a look at the back of this cutting-edge device. We note the model number—SM-G925T—and get to work dispatching the back cover.

  • Samsung stepped up the chic factor on the S6 and S6 Edge, opting for a screw-free glass back. This isn't exactly the first time we've seen this design trend.

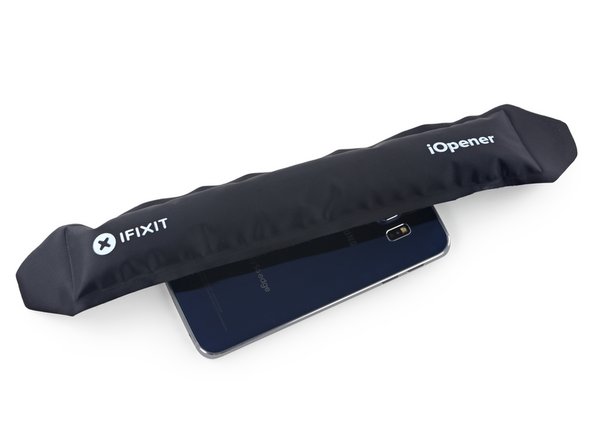
  • The rear panel is glued on rock-solid, and is a tight fit within the frame. Even with the adhesive patiently iOpened, we had to break out our Heavy Duty Suction Cup to slip in an opening pick. Definitely not fun.

  • Throwback to when Samsung had ultra user-friendly battery replacement doors. RIP.

E ora un'occhiata dal lato inferiore. Prendiamo nota della sigla del modello—SM-G925T—e iniziamo da qui lo smontaggio, apprestandoci a rimuovere la cover posteriore.

Samsung ha privilegiato il fattore chic nell'S6 e S6 Edge, optando per il fondo in vetro senza viti. Non è esattamente la prima volta che incontriamo questa tendenza stilistica.

Il pannello posteriore è tenacemente incollato e combacia perfettamente con il telaio sottostante. Perfino dopo aver avuto ragione con tanta pazienza dell'adesivo grazie all'iOpener, abbiamo dovuto ricorrere alla nostra Ventosa per Carichi Elevati per poter infilare dentro una levetta di apertura. Un'operazione tutt'altro che divertente.

Sono passati i tempi in cui Samsung adoperava coperture della batteria facilissime da aprire per chiunque per la sostituzione batteria. RIP.

crwdns2944171:0crwdnd2944171:0crwdnd2944171:0crwdnd2944171:0crwdne2944171:0