crwdns2933423:0crwdne2933423:0

사진 후-처리하는 방법

crwdns2936315:0crwdne2936315:0
crwdns2936325:0crwdne2936325:0
crwdns2931653:07crwdne2931653:0
How to Post-Process Pictures, Cropping: crwdns2935265:00crwdnd2935265:01crwdnd2935265:03crwdne2935265:0 How to Post-Process Pictures, Cropping: crwdns2935265:00crwdnd2935265:02crwdnd2935265:03crwdne2935265:0 How to Post-Process Pictures, Cropping: crwdns2935265:00crwdnd2935265:03crwdnd2935265:03crwdne2935265:0
Cropping
  • The last step is to crop your picture to a 4:3 aspect ratio. The guides will not accept any images of a different ratio.

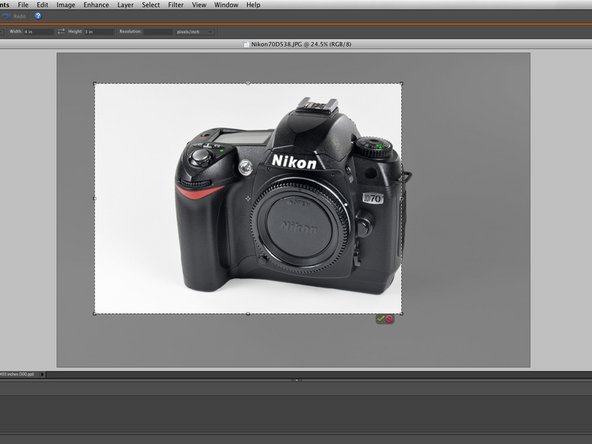
  • A key to cropping photos is to make sure that the subject of the photo is large enough, while also not so large that it overpowers the picture area. For example, the first picture is cropped too tightly as many edges contain very little white space.

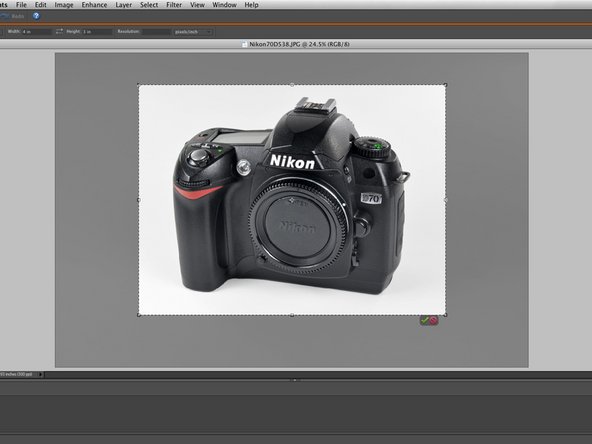
  • The second picture has good vertical margins, but poor centering.

  • The third picture shows a good picture crop, as there is some white space around the centered subject.

  • Cropping perfectly centered on the subject may not always be desirable. If there is a particular part or action occurring on the subject, you will want to center the crop around that. This may entail cropping part of the subject out of the picture.

마지막 단계는 사진을 4:3 비율로 자르는 것입니다. 안내서에 다른 비율의 이미지를 사용할 수 없습니다.

사진 자르기의 핵심은 사진 속 대상이 충분히 크지만 너무 크지는 않아서 사진 영역을 압도 하지 않도록 하는 것입니다. 예를 들면, 첫 번째 사진은 대상에 너무 가깝게 잘라서 많은 가장자리에 흰색 공간이 거의 없습니다.

두 번째 사진은 대상의 수직 여유는 좋으나 중앙에 있지 않습니다.

세 번째 사진은 사진 중앙에 있는 대상 주위로 충분한 흰색 공간이 있어서 좋은 자르기 사진입니다.

대상을 완벽한 중간에 놓고 자르기 하는 것이 항상 적절하지는 않습니다. 대상의 특정 부품이나 작업 수행 동작을 나타내야 할 때 그 중심으로 주변을 자르기 하세요. 자르기 할 때는 대상의 일부가 전체 사진에서 잘려 나갈 수 있습니다.

crwdns2944171:0crwdnd2944171:0crwdnd2944171:0crwdnd2944171:0crwdne2944171:0