crwdns2933423:0crwdne2933423:0

Nintendo Entertainment System Hauptplatine austauschen

crwdns2931529:0crwdnd2931529:0crwdnd2931529:0crwdnd2931529:02crwdnd2931529:0crwdne2931529:0

crwdns2935425:01crwdne2935425:0

crwdns2936315:0crwdne2936315:0
crwdns2936319:0crwdne2936319:0
crwdns2931653:01crwdne2931653:0
Nintendo Entertainment System Motherboard Replacement: crwdns2935265:00crwdnd2935265:01crwdnd2935265:03crwdne2935265:0 Nintendo Entertainment System Motherboard Replacement: crwdns2935265:00crwdnd2935265:02crwdnd2935265:03crwdne2935265:0 Nintendo Entertainment System Motherboard Replacement: crwdns2935265:00crwdnd2935265:03crwdnd2935265:03crwdne2935265:0
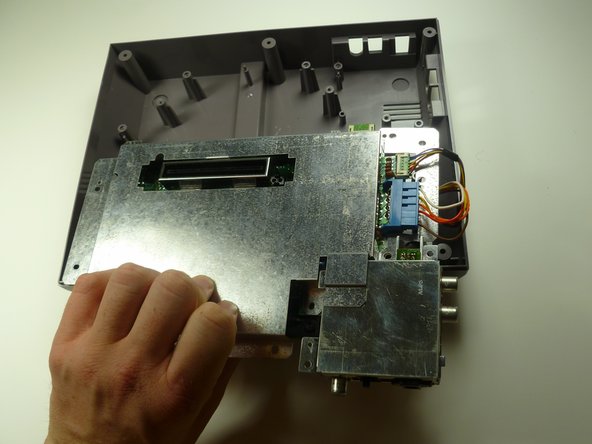
  • Remove the three 13.25mm Phillips screws that secure the motherboard to the lower case with a Phillips head #2 screwdriver.

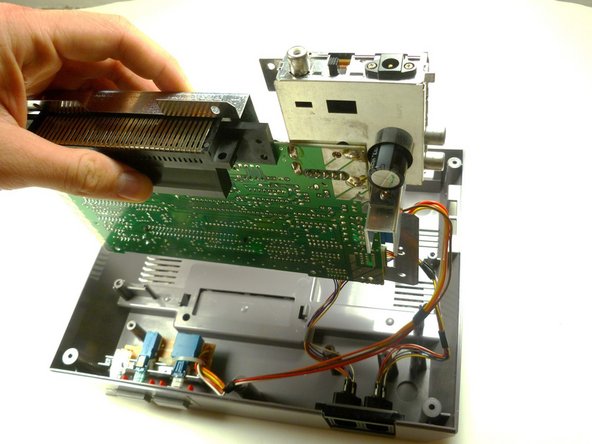
  • Pull the motherboard assembly straight up and out of the plastic case with your hands.

  • Turn the motherboard assembly over so the metal cover is facing you.

Entferne die drei 13,25 mm Kreuzschlitzschrauben #2 welche die Hauptplatine am Gehäuse festhalten.

Hebe die ganze Einheit der Hauptplatine gerade mit den Händen hoch und weg vom Gehäuse.

Drehe die Einheit herum, so dass die Metallabdeckung zu dir zeigt.

crwdns2944171:0crwdnd2944171:0crwdnd2944171:0crwdnd2944171:0crwdne2944171:0