crwdns2933423:0crwdne2933423:0

Repairing Non-Functional Buttons on LeapFrog Hug & Learn Baby Tad

crwdns2936315:0crwdne2936315:0
crwdns2936319:0crwdne2936319:0
crwdns2931653:011crwdne2931653:0
Repairing Non-Functional Buttons on LeapFrog Hug & Learn Baby Tad: crwdns2935265:00crwdnd2935265:01crwdnd2935265:03crwdne2935265:0 Repairing Non-Functional Buttons on LeapFrog Hug & Learn Baby Tad: crwdns2935265:00crwdnd2935265:02crwdnd2935265:03crwdne2935265:0 Repairing Non-Functional Buttons on LeapFrog Hug & Learn Baby Tad: crwdns2935265:00crwdnd2935265:03crwdnd2935265:03crwdne2935265:0
  • After you have sewed the button compartment back into place, you can proceed to replacing the stuffing.

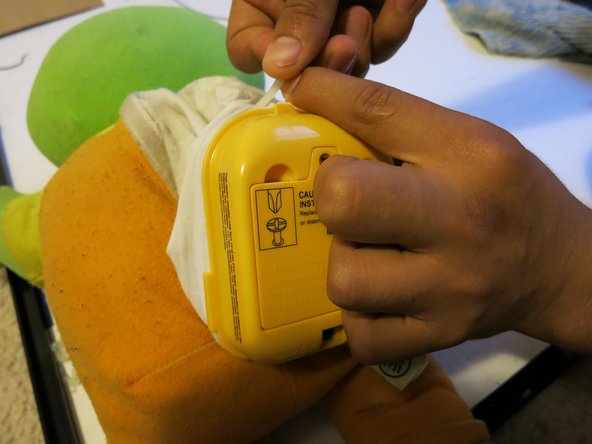
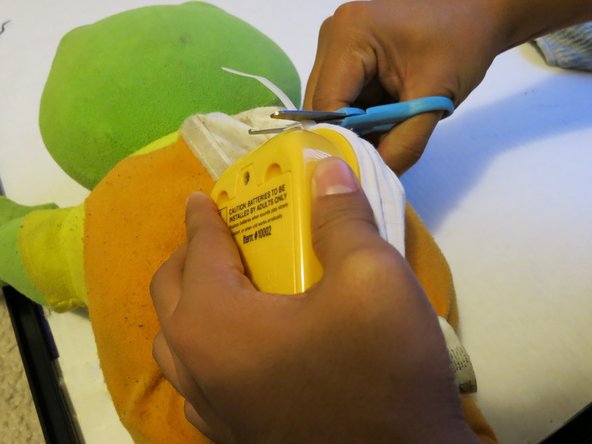
  • Put the button compartment back inside its sleeve and secure it with the 15-inch cable tie. Cut off the excess cable tie with your scissors.

  • It is easier to first put the entire battery compartment inside its sleeve, then slowly pull the cloth into place. Then you can push the cable tie through its slot and secure it.

crwdns2935429:0crwdne2935429:0

crwdns2935429:0crwdne2935429:0

crwdns2935429:0crwdne2935429:0

crwdns2944171:0crwdnd2944171:0crwdnd2944171:0crwdnd2944171:0crwdne2944171:0