crwdns2933423:0crwdne2933423:0

Repairing Non-Functional Buttons on LeapFrog Hug & Learn Baby Tad

crwdns2936315:0crwdne2936315:0
crwdns2936319:0crwdne2936319:0
crwdns2931653:03crwdne2931653:0
Repairing Non-Functional Buttons on LeapFrog Hug & Learn Baby Tad: crwdns2935265:00crwdnd2935265:01crwdnd2935265:03crwdne2935265:0 Repairing Non-Functional Buttons on LeapFrog Hug & Learn Baby Tad: crwdns2935265:00crwdnd2935265:02crwdnd2935265:03crwdne2935265:0 Repairing Non-Functional Buttons on LeapFrog Hug & Learn Baby Tad: crwdns2935265:00crwdnd2935265:03crwdnd2935265:03crwdne2935265:0
  • Once you have the battery compartment on the side, take all the stuffing out.

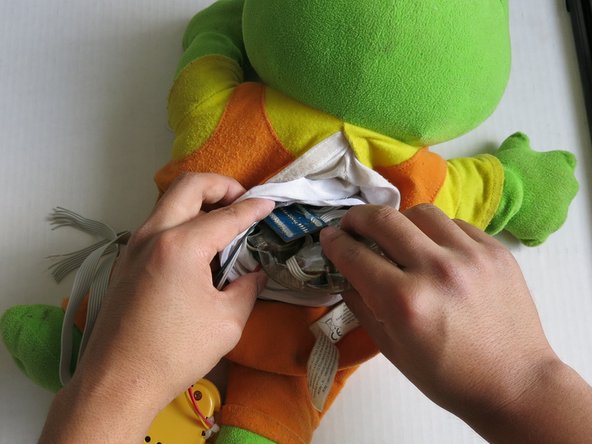
  • Under the battery compartment, there will be another compartment held in place inside a cloth bag. This will be the button compartment.

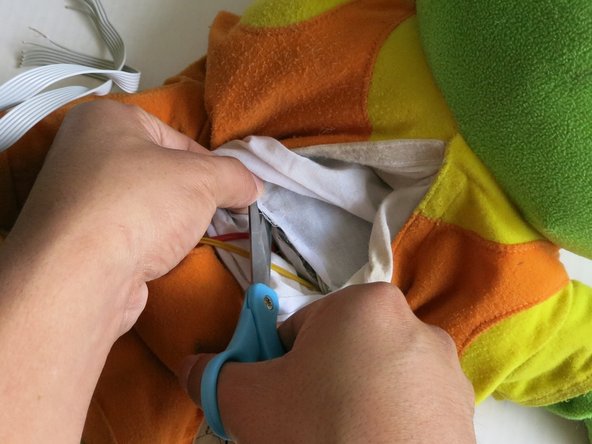
  • Carefully cut the cloth covering the button compartment around the edges.

  • To avoid damaging cables within the button compartment, you can pinch the excess cloth on the sides and begin your cut there.

  • Remove the button compartment and set it aside.

  • NOTE: The button compartment from my LeapFrog was completely ruptured from the battery compartment.

crwdns2935429:0crwdne2935429:0

crwdns2935429:0crwdne2935429:0

crwdns2935429:0crwdne2935429:0

crwdns2935429:0crwdne2935429:0

crwdns2935429:0crwdne2935429:0

crwdns2935429:0crwdne2935429:0

crwdns2944171:0crwdnd2944171:0crwdnd2944171:0crwdnd2944171:0crwdne2944171:0