crwdns2935425:01crwdne2935425:0
crwdns2931653:01crwdne2931653:0


-
Use an iPod opening tool to peel the edge of the yellow kapton tape that covers the rear-facing camera and the logic board.
-
Continue peeling the tape from the bottom of the rear-facing camera connector.
-
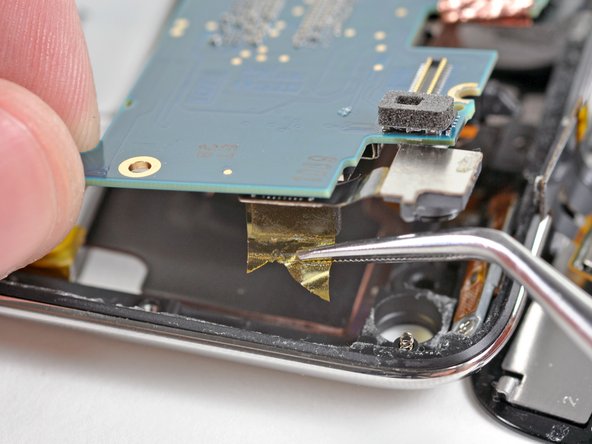
Use a pair of tweezers to grasp and remove the tape from the top of the rear-facing camera connector.
| [* black] Use an iPod opening tool to peel the edge of the yellow kapton tape that covers the rear-facing camera and the logic board. | |
| [* black] Continue peeling the tape from the bottom of the rear-facing camera connector. | |
| - | [* black] Use a pair of tweezers to grasp and remove the tape from the top of the rear-facing camera connector. |
| + | [* black] Use a pair of [product|IF145-020|tweezers] to grasp and remove the tape from the top of the rear-facing camera connector. |
crwdns2944171:0crwdnd2944171:0crwdnd2944171:0crwdnd2944171:0crwdne2944171:0