crwdns2933423:0crwdne2933423:0

Disassembling Nintendo 64 Cartridge

crwdns2936315:0crwdne2936315:0
crwdns2936321:0crwdne2936321:0
crwdns2931653:03crwdne2931653:0
Disassembling Nintendo 64 Cartridge: crwdns2935265:00crwdnd2935265:01crwdnd2935265:03crwdne2935265:0 Disassembling Nintendo 64 Cartridge: crwdns2935265:00crwdnd2935265:02crwdnd2935265:03crwdne2935265:0 Disassembling Nintendo 64 Cartridge: crwdns2935265:00crwdnd2935265:03crwdnd2935265:03crwdne2935265:0
  • The only thing holding in the board is the plastic shield on the bottom of the cartridge. No screws are holding it in and is easily removed.

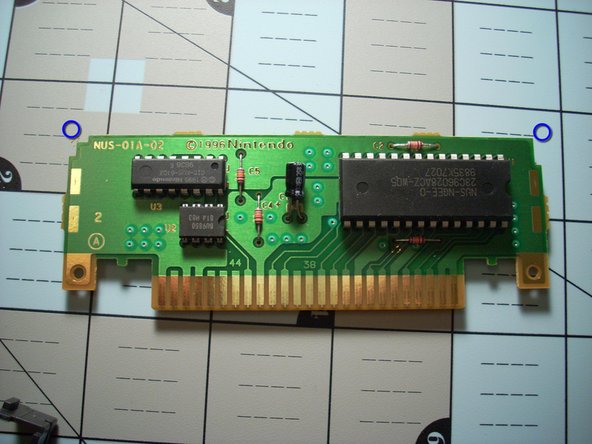
  • Now you can fully take out the cartridge board from the casing.

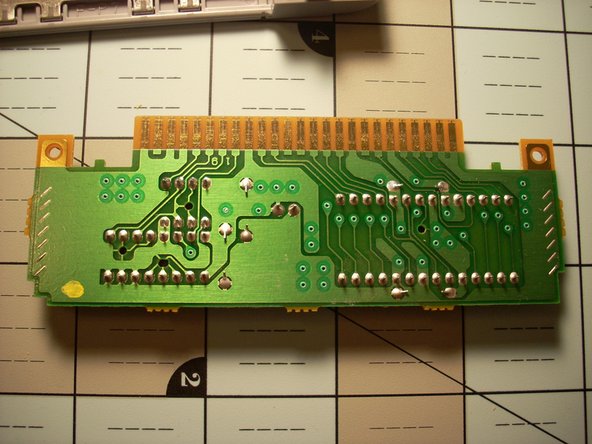
  • Here you can fully clean the pin set and inspect for damage to the circuit board.

  • NOTE: The top edges of the board are made asymmetrically so it can only go into the casing one way. Near the Blue Circles

crwdns2935429:0crwdne2935429:0

crwdns2935429:0crwdne2935429:0

crwdns2935429:0crwdne2935429:0

crwdns2935429:0crwdne2935429:0

crwdns2944171:0crwdnd2944171:0crwdnd2944171:0crwdnd2944171:0crwdne2944171:0