crwdns2933423:0crwdne2933423:0

Démontage cartouche Nintendo 64

crwdns2936315:0crwdne2936315:0
crwdns2936317:0crwdne2936317:0
crwdns2931653:03crwdne2931653:0
Disassembling Nintendo 64 Cartridge: crwdns2935265:00crwdnd2935265:01crwdnd2935265:03crwdne2935265:0 Disassembling Nintendo 64 Cartridge: crwdns2935265:00crwdnd2935265:02crwdnd2935265:03crwdne2935265:0 Disassembling Nintendo 64 Cartridge: crwdns2935265:00crwdnd2935265:03crwdnd2935265:03crwdne2935265:0
  • The only thing holding in the board is the plastic shield on the bottom of the cartridge. No screws are holding it in and is easily removed.

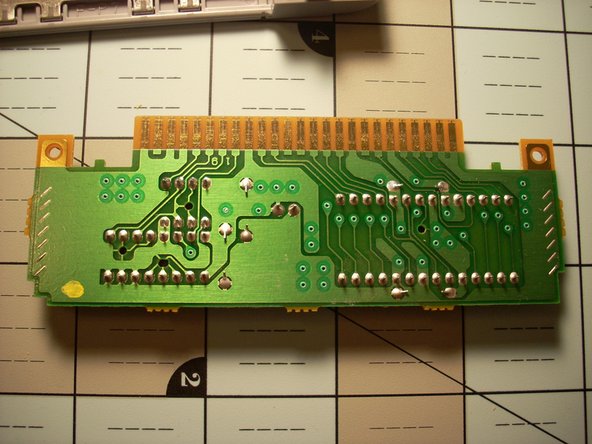
  • Now you can fully take out the cartridge board from the casing.

  • Here you can fully clean the pin set and inspect for damage to the circuit board.

  • NOTE: The top edges of the board are made asymmetrically so it can only go into the casing one way. Near the Blue Circles

La seule chose qui maintient le circuit imprimé est le plastique au fond de la cartouche. Il n'y a pas de vis qui le maintiennent et il est facile à enlever.

Vous pouvez maintenant retirer complètement le circuit imprimé de la coque.

Vous pouvez ainsi nettoyer entièrement les contacts et vérifier que le circuit imprimé n'est pas endommagé.

REMARQUE : Les bords supérieurs du circuit sont asymétriques, de sorte qu'elle ne peut être remise dans le boîtier que dans un seul sens. Près des cercles bleus.

crwdns2944171:0crwdnd2944171:0crwdnd2944171:0crwdnd2944171:0crwdne2944171:0