crwdns2935425:016crwdne2935425:0
crwdns2931653:016crwdne2931653:0

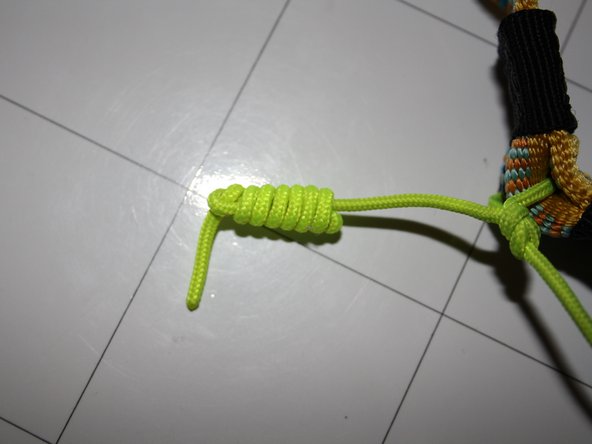


Beautify the rest of the line - Final Warnings!
-
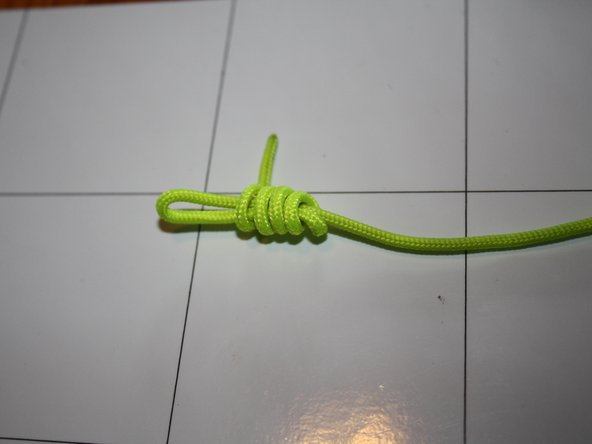
Bend the line like in the first picture
-
Bend again and go back around the lines approx. 5 or 6 times.
-
Put the end of the line through the loop at the end and pull tight carefully
crwdns2944171:0crwdnd2944171:0crwdnd2944171:0crwdnd2944171:0crwdne2944171:0