crwdns2935425:02crwdne2935425:0
crwdns2931653:02crwdne2931653:0

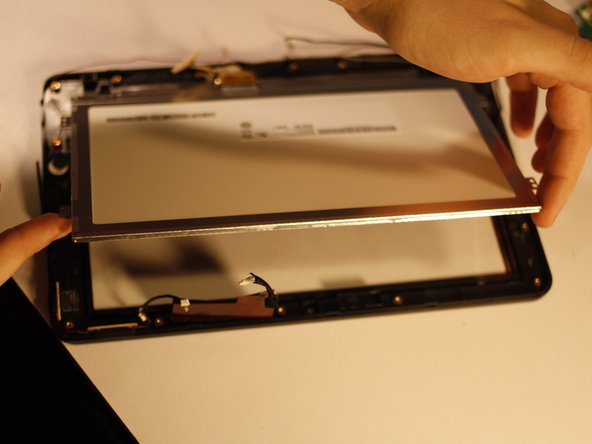
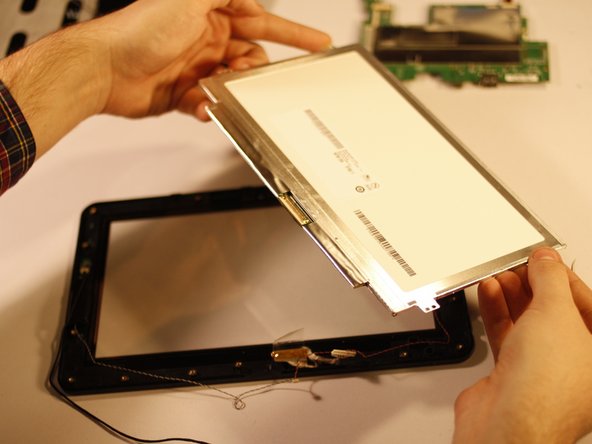


Removing the LCD Screen
-
Remove the LCD Chassis. Notice the antenna and accompanying wire stay attached.
-
Lift the LCD screen from the "top" of the device (the long side with the front facing camera). There is a small piece of double sided tape holding it in place on the bottom; continue lifting to free it.
crwdns2944171:0crwdnd2944171:0crwdnd2944171:0crwdnd2944171:0crwdne2944171:0