crwdns2935425:015crwdne2935425:0


-
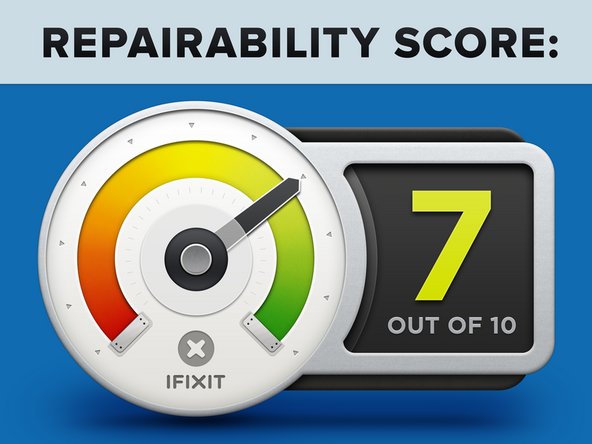
Motorola Nexus 6 Repairability Score: 7 out of 10 (10 is easiest to repair).
-
Pressure contacts and cable connectors make the modular components (cameras, buttons, headphone jack) easy to replace.
-
The Nexus 6 uses a single kind of screw, although it's a fairly uncommon size (T3).
-
Many many screws hold the midframe in place—this makes its removal somewhat tedious, but also means no clips or adhesive are needed to secure it to the front panel.
-
The glued-in battery is less accessible than we'd like, but it can be replaced.
-
Several components (vibrator, SIM slot, speaker, USB port) are soldered directly to the motherboard and will be more difficult to replace than if they were connected by cable.
-
The digitizer is fused to the display, increasing repair costs for a cracked screen, but it is easy to get to the bare display assembly.
crwdns2944171:0crwdnd2944171:0crwdnd2944171:0crwdnd2944171:0crwdne2944171:0