crwdns2931529:0crwdnd2931529:0crwdnd2931529:0crwdnd2931529:07crwdnd2931529:0crwdne2931529:0
crwdns2935425:04crwdne2935425:0
crwdns2931653:04crwdne2931653:0


-
Before removing the back cover, apply some scotch tape to the volume buttons to prevent them from falling out of the back panel.
-
Use a plastic opening tool to lever up the top half of the cover.
-
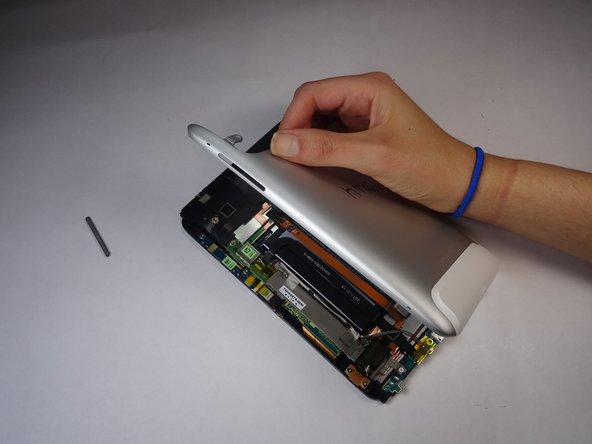
Lift the back panel up and remove it from the device.
| - | [title] Removing the back plate |
|---|---|
| - | [* black] Before removing the back cover, apply some scotch tape to the volume buttons to prevent them from falling out of the back panel |
| - | [* black] Use a plastic removal device to lever up the top half of the cover. |
| - | [* black] Lift the back panel up |
| + | [* black] Before removing the back cover, apply some scotch tape to the volume buttons to prevent them from falling out of the back panel. |
| + | [* black] Use a plastic opening tool to lever up the top half of the cover. |
| + | [* black] Lift the back panel up and remove it from the device. |
crwdns2944171:0crwdnd2944171:0crwdnd2944171:0crwdnd2944171:0crwdne2944171:0