crwdns2933423:0crwdne2933423:0

Samsung Galaxy Tab 3 10.1 Screen Replacement

crwdns2935425:011crwdne2935425:0

crwdns2936315:0crwdne2936315:0
crwdns2936321:0crwdne2936321:0
crwdns2931653:011crwdne2931653:0
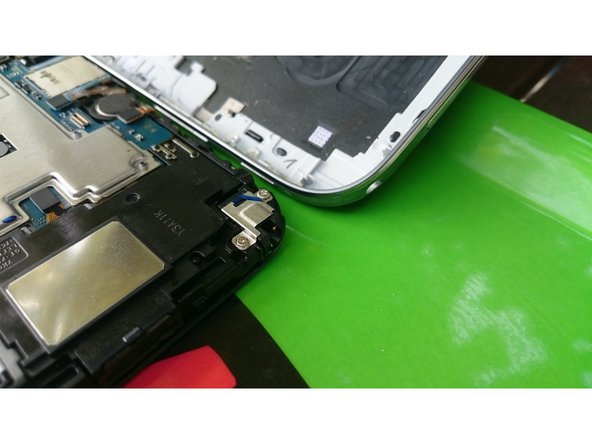
Samsung Galaxy Tab 3 10.1 Screen Replacement, Re-assembly: crwdns2935265:00crwdnd2935265:01crwdnd2935265:03crwdne2935265:0 Samsung Galaxy Tab 3 10.1 Screen Replacement, Re-assembly: crwdns2935265:00crwdnd2935265:02crwdnd2935265:03crwdne2935265:0 Samsung Galaxy Tab 3 10.1 Screen Replacement, Re-assembly: crwdns2935265:00crwdnd2935265:03crwdnd2935265:03crwdne2935265:0
Re-assembly
  • Work backwards from here, first putting the screen frame back on. Then insert the battery and screw the screws back in (rotating them clockwise). Then place the ribbon cables back in and finally press the back of the device back into place.

  • Be careful to have correctly center the new digitizer glass. If the glass is not properly aligned, you will break it in putting the back cover.

  • Before closing the back cover, you can test the device with switching it on via the power button.

crwdns2935429:0crwdne2935429:0

crwdns2935429:0crwdne2935429:0

crwdns2935429:0crwdne2935429:0

crwdns2944171:0crwdnd2944171:0crwdnd2944171:0crwdnd2944171:0crwdne2944171:0