crwdns2933423:0crwdne2933423:0

Remplacement de la carte mère du Samsung Galaxy Tab 3 7.0 3G

crwdns2931529:0crwdnd2931529:0crwdnd2931529:0crwdnd2931529:03crwdnd2931529:0crwdne2931529:0

crwdns2935425:02crwdne2935425:0

crwdns2936315:0crwdne2936315:0
crwdns2936317:0crwdne2936317:0
crwdns2931653:02crwdne2931653:0
Samsung Galaxy Tab 3 7.0 3G Motherboard Replacement: crwdns2935265:00crwdnd2935265:01crwdnd2935265:03crwdne2935265:0 Samsung Galaxy Tab 3 7.0 3G Motherboard Replacement: crwdns2935265:00crwdnd2935265:02crwdnd2935265:03crwdne2935265:0 Samsung Galaxy Tab 3 7.0 3G Motherboard Replacement: crwdns2935265:00crwdnd2935265:03crwdnd2935265:03crwdne2935265:0
  • First, Remove eight 1.33x2.00mm Phillip screws.

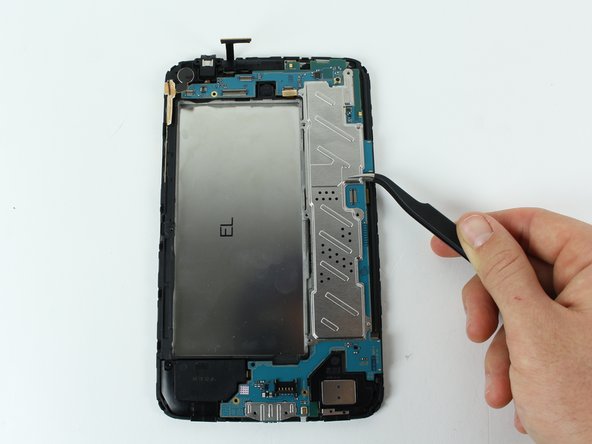
  • Once all the screws are removed, remove the motherboard using the tweezers.

  • Once the motherboard is removed, your device should look like the device in the third picture.

Tout d'abord, retirez huit vis Phillip 1.33x2.00mm.

Une fois toutes les vis retirées, retirez la carte mère à l'aide de la pince à épiler.

Une fois la carte mère retirée, votre appareil devrait ressembler à l'appareil de la troisième image.

crwdns2944171:0crwdnd2944171:0crwdnd2944171:0crwdnd2944171:0crwdne2944171:0