crwdns2935425:014crwdne2935425:0
crwdns2931653:014crwdne2931653:0

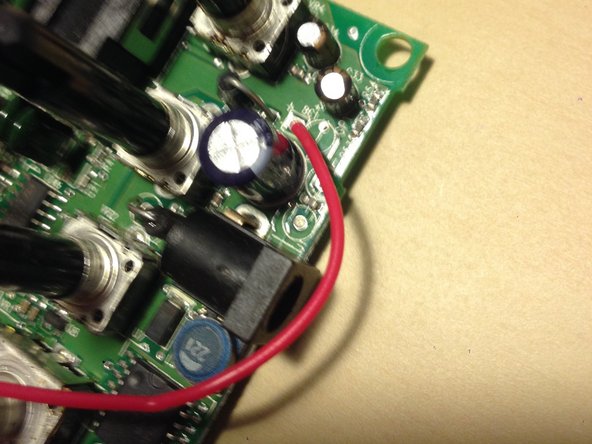


9V Battery Snap Connector (Continued)
-
The 9V Battery Snap Connector is connected to motherboard via 2 wires: 1 red and 1 black.
-
The red wire is soldered to the left of the DC Adapter Port, and the black wire is soldered just below the single 1/4 inch line input jack.
-
To replace the 9V Battery Snap Connector, simply re-solder the connection in the back of the motherboard at these two points.
crwdns2944171:0crwdnd2944171:0crwdnd2944171:0crwdnd2944171:0crwdne2944171:0