crwdns2933423:0crwdne2933423:0

Panasonic PV-GS9 Motherboard Replacement

crwdns2935425:02crwdne2935425:0

crwdns2936315:0crwdne2936315:0
crwdns2936311:0crwdne2936311:0
crwdns2931653:02crwdne2931653:0
Panasonic PV-GS9 Motherboard Replacement: crwdns2935265:00crwdnd2935265:01crwdnd2935265:03crwdne2935265:0 Panasonic PV-GS9 Motherboard Replacement: crwdns2935265:00crwdnd2935265:02crwdnd2935265:03crwdne2935265:0 Panasonic PV-GS9 Motherboard Replacement: crwdns2935265:00crwdnd2935265:03crwdnd2935265:03crwdne2935265:0
  • To remove the logic board from the body, use the #00 phillips head screwdriver and remove the 4mm silver screw from right side of the board.

  • Next, rotate the camcorder so the front is facing you and remove the 4mm silver screw from the front panel.

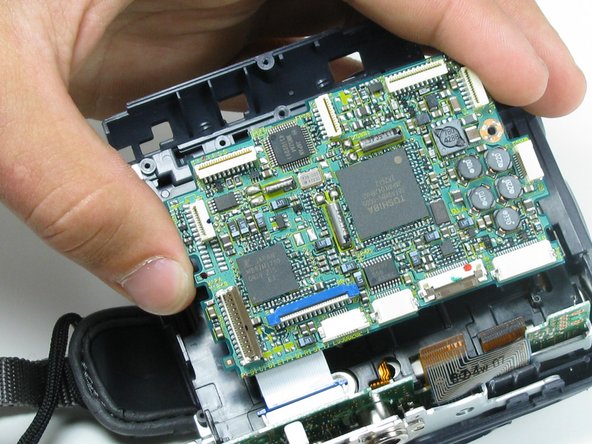
  • Carefully lift the logic board away from the camcorder.

crwdns2935429:0crwdne2935429:0

crwdns2935429:0crwdne2935429:0

crwdns2935429:0crwdne2935429:0

crwdns2944171:0crwdnd2944171:0crwdnd2944171:0crwdnd2944171:0crwdne2944171:0