crwdns2933423:0crwdne2933423:0

Replacing Panasonic SA-HT810V New Screen, Motherboard, and Power Supply

crwdns2935425:012crwdne2935425:0

crwdns2936315:0crwdne2936315:0
crwdns2936321:0crwdne2936321:0
crwdns2931653:012crwdne2931653:0
Replacing Panasonic SA-HT810V New Screen, Motherboard, and Power Supply: crwdns2935265:00crwdnd2935265:01crwdnd2935265:03crwdne2935265:0 Replacing Panasonic SA-HT810V New Screen, Motherboard, and Power Supply: crwdns2935265:00crwdnd2935265:02crwdnd2935265:03crwdne2935265:0 Replacing Panasonic SA-HT810V New Screen, Motherboard, and Power Supply: crwdns2935265:00crwdnd2935265:03crwdnd2935265:03crwdne2935265:0
  • Before replacing the motherboard, it is crucial to understand that this device cannot be taken apart any further without breaking solder points. So the motherboard, screen and power supply must be replaced together.

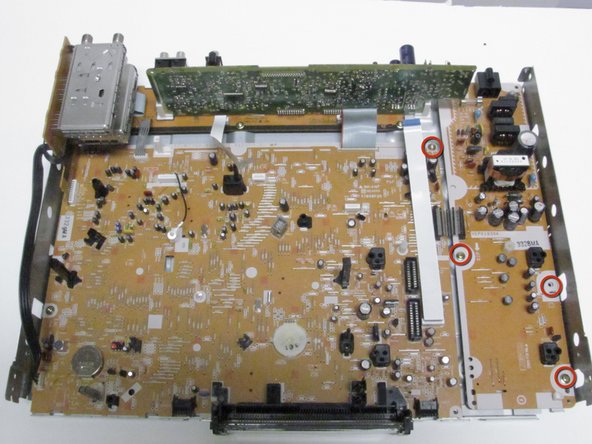
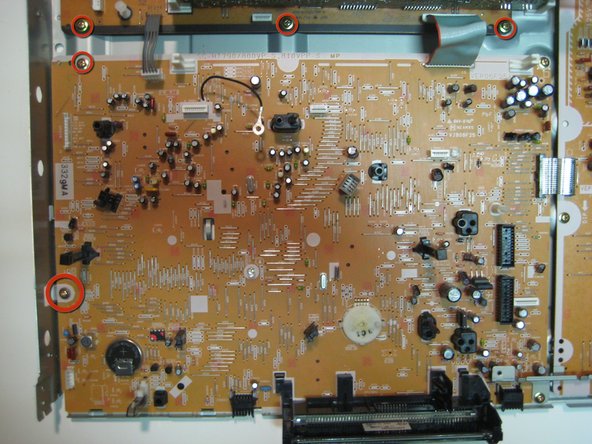
  • Using a phillips head screwdriver, remove the thirteen screws that shown in images 1-3.

  • Lift up all of the components together making sure not to break any solder points.

  • To reassemble, follow these steps in reverse order.

crwdns2935429:0crwdne2935429:0

crwdns2935429:0crwdne2935429:0

crwdns2935429:0crwdne2935429:0

crwdns2935429:0crwdne2935429:0

crwdns2944171:0crwdnd2944171:0crwdnd2944171:0crwdnd2944171:0crwdne2944171:0