crwdns2933423:0crwdne2933423:0

Canon PIXMA iP4850 Teardown

crwdns2936315:0crwdne2936315:0
crwdns2936325:0crwdne2936325:0
crwdns2931653:05crwdne2931653:0
Canon PIXMA iP4850 Teardown: crwdns2935265:00crwdnd2935265:01crwdnd2935265:03crwdne2935265:0 Canon PIXMA iP4850 Teardown: crwdns2935265:00crwdnd2935265:02crwdnd2935265:03crwdne2935265:0 Canon PIXMA iP4850 Teardown: crwdns2935265:00crwdnd2935265:03crwdnd2935265:03crwdne2935265:0
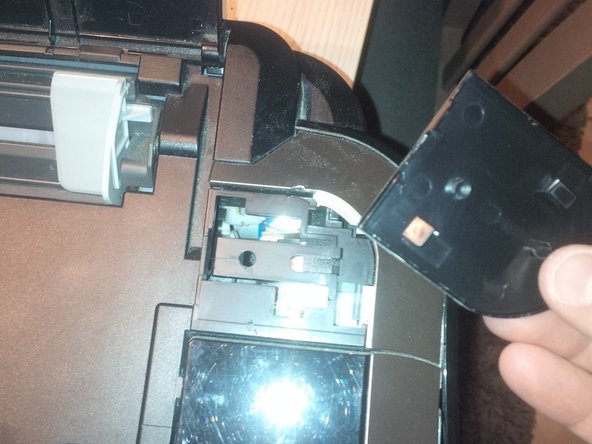
  • remove the side panels

  • you can remove this by clicking the panel of.

  • search for the arrows on the upper deck of the printer. see picture 1

  • than click the panel losse at the bottom of the printer.

  • again, and i think you know already, it's not so easy to take the printer apart. It's a lot of clicking the panels loose. and sometimes you will think the plastic will brake but it's quite flexible.

  • at the left side you'll find the paper drive roll. and at the right side the PCB boards

crwdns2935429:0crwdne2935429:0

crwdns2935429:0crwdne2935429:0

crwdns2935429:0crwdne2935429:0

crwdns2935429:0crwdne2935429:0

crwdns2935429:0crwdne2935429:0

crwdns2935429:0crwdne2935429:0

crwdns2944171:0crwdnd2944171:0crwdnd2944171:0crwdnd2944171:0crwdne2944171:0