crwdns2933423:0crwdne2933423:0

DualShock 4左アナログジョイスティックの交換

crwdns2935425:03crwdne2935425:0

crwdns2936315:0crwdne2936315:0
crwdns2936323:0crwdne2936323:0
crwdns2931653:03crwdne2931653:0
DualShock 4 Left Analog Stick Replacement: crwdns2935265:00crwdnd2935265:01crwdnd2935265:03crwdne2935265:0 DualShock 4 Left Analog Stick Replacement: crwdns2935265:00crwdnd2935265:02crwdnd2935265:03crwdne2935265:0 DualShock 4 Left Analog Stick Replacement: crwdns2935265:00crwdnd2935265:03crwdnd2935265:03crwdne2935265:0
  • Insert the new joystick into the circuit board. Make sure it is properly seated and that all the contacts line up with the holes in the circuit board.

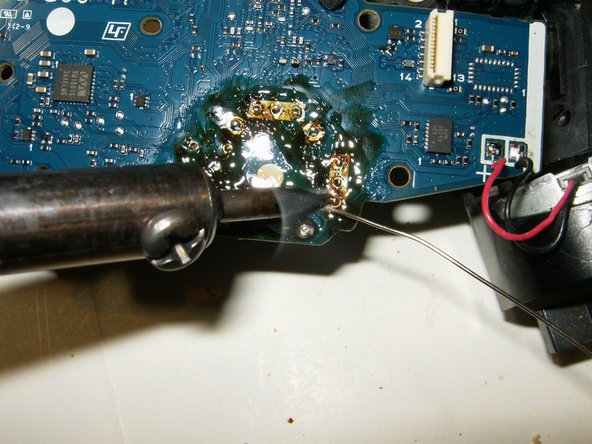
  • Solder all the contacts to the board.

  • Here is the board after the repair. All that is left is to clean off the old flux with some isopropyl alcohol.

新しいジョイスティックを回路基板に挿入します。正しく装着されており、すべての接点が回路基板のホールにはまっていることを確認します。

すべての接点を基板にはんだ付けします。

これが修理後の基板です。最後に古いフラックスを無水エタノールで拭き取ります。

crwdns2944171:0crwdnd2944171:0crwdnd2944171:0crwdnd2944171:0crwdne2944171:0