crwdns2933423:0crwdne2933423:0

Remplacement du stick analogique gauche du DualShock 4

crwdns2935425:03crwdne2935425:0

crwdns2936315:0crwdne2936315:0
crwdns2936317:0crwdne2936317:0
crwdns2931653:03crwdne2931653:0
DualShock 4 Left Analog Stick Replacement: crwdns2935265:00crwdnd2935265:01crwdnd2935265:03crwdne2935265:0 DualShock 4 Left Analog Stick Replacement: crwdns2935265:00crwdnd2935265:02crwdnd2935265:03crwdne2935265:0 DualShock 4 Left Analog Stick Replacement: crwdns2935265:00crwdnd2935265:03crwdnd2935265:03crwdne2935265:0
  • Insert the new joystick into the circuit board. Make sure it is properly seated and that all the contacts line up with the holes in the circuit board.

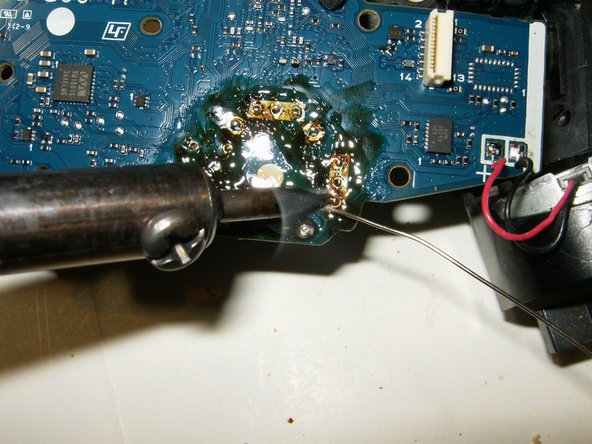
  • Solder all the contacts to the board.

  • Here is the board after the repair. All that is left is to clean off the old flux with some isopropyl alcohol.

Insérez le nouveau joystick dans le circuit imprimé. Assurez-vous qu'il est correctement positionné et que tous les contacts sont alignés avec les trous du circuit imprimé.

Soudez tous les contacts au circuit imprimé.

Voici le circuit imprimé après la réparation. Il ne reste plus qu'à nettoyer les résidus de flux avec de l'alcool isopropylique.

crwdns2944171:0crwdnd2944171:0crwdnd2944171:0crwdnd2944171:0crwdne2944171:0