crwdns2933423:0crwdne2933423:0

Reemplazo del control analógico izquierdo del DualShock 4

crwdns2936315:0crwdne2936315:0
crwdns2936331:0crwdne2936331:0
crwdns2931653:02crwdne2931653:0
DualShock 4 Left Analog Stick Replacement: crwdns2935265:00crwdnd2935265:01crwdnd2935265:03crwdne2935265:0 DualShock 4 Left Analog Stick Replacement: crwdns2935265:00crwdnd2935265:02crwdnd2935265:03crwdne2935265:0 DualShock 4 Left Analog Stick Replacement: crwdns2935265:00crwdnd2935265:03crwdnd2935265:03crwdne2935265:0
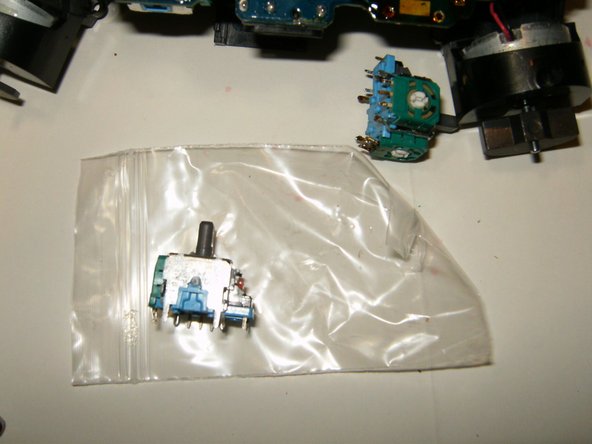
  • Once all the contacts are desoldered, the old joystick can be removed. This may take a bit of practice since all the solder will have to be removed. It does help to pull a bit on the joystick while melting the solder and using the wick.

  • Ensure that the contacts of the replacement joystick are identical to the original.

  • Check that all the holes are cleared of old solder. Hypodermic needles as well as very small drill bits can be used to clear the holes. The molten looking substance on the circuit board is the flux used for the desoldering.

Una vez que se hayan desoldado todos los contactos, se puede quitar el viejo control. Esto puede requerir un poco de práctica, ya que habrá que quitar toda la soldadura. Tirar un poco del control ayuda mientras derrites la soldadura y usas la mecha.

Asegúrate de que los contactos del control de reemplazo sean idénticos al original.

Verifica que todos los agujeros estén libres de soldadura vieja. Se pueden usar agujas hipodérmicas, así como brocas muy pequeñas para limpiar los agujeros. La sustancia de aspecto fundido en la placa de circuito es el fundente utilizado para la desoldadura.

crwdns2944171:0crwdnd2944171:0crwdnd2944171:0crwdnd2944171:0crwdne2944171:0