crwdns2935425:01crwdne2935425:0
crwdns2931653:01crwdne2931653:0


-
Release the right speaker's connection with either a spudger or tweezers as shown in the first picture. To do this, lift the wire directly up until the glued down wires come off.
-
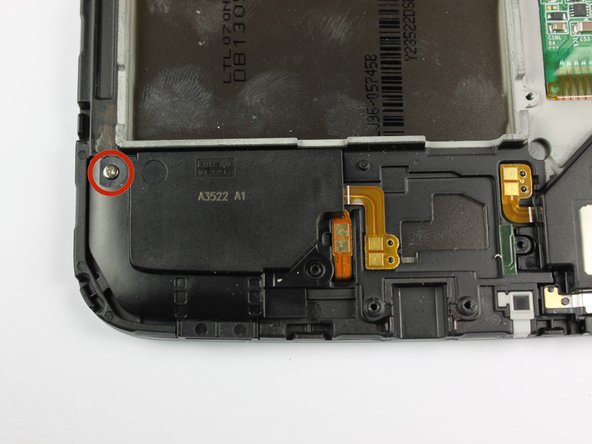
Once the connection is released, remove the single screw holding down the speaker, shown in the second picture.
-
After removing the screw and releasing the connection, you should now be able to remove the right speaker and replace it with a new one.
| - | [* black] Release the right speaker's connection with either a spudger or tweezers as shown in the first picture. To do this, lift the wire directly up until the glued down wires come off. |
|---|---|
| + | [* black] Release the right speaker's connection with either a spudger or [product|IF145-020|tweezers] as shown in the first picture. To do this, lift the wire directly up until the glued down wires come off. |
| [* red] Once the connection is released, remove the single screw holding down the speaker, shown in the second picture. | |
| [* black] After removing the screw and releasing the connection, you should now be able to remove the right speaker and replace it with a new one. |
crwdns2944171:0crwdnd2944171:0crwdnd2944171:0crwdnd2944171:0crwdne2944171:0