crwdns2931529:0crwdnd2931529:0crwdnd2931529:0crwdnd2931529:03crwdnd2931529:0crwdne2931529:0
crwdns2935425:01crwdne2935425:0
crwdns2931653:01crwdne2931653:0


-
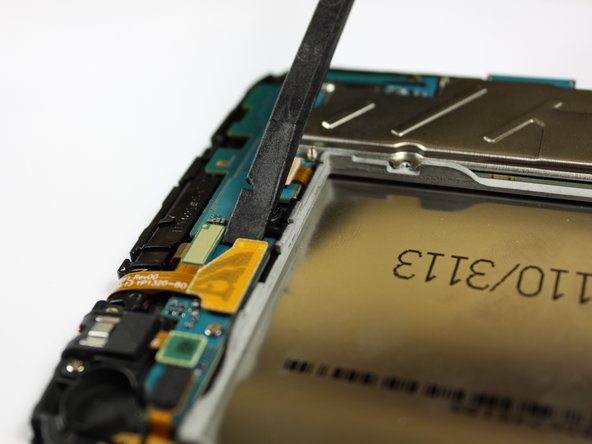
Begin replacement of the motherboard by releasing all connections holding down the motherboard, shown in the first picture.
-
To do this, use your spudger, tweezers, or a plastic opening tool and gently lift the connections up from their ports.
-
Once you separate all connections, the back of your device should look as it does in the third picture.
| [* red] Begin replacement of the motherboard by releasing all connections holding down the motherboard, shown in the first picture. | |
| - | [* black] To do this, use your spudger, tweezers, or a plastic opening tool and gently lift the connections up from their ports. |
| + | [* black] To do this, use your spudger, [product|IF145-020|tweezers], or a plastic opening tool and gently lift the connections up from their ports. |
| [* black] Once you separate all connections, the back of your device should look as it does in the third picture. |
crwdns2944171:0crwdnd2944171:0crwdnd2944171:0crwdnd2944171:0crwdne2944171:0