crwdns2933423:0crwdne2933423:0

Sostituzione del pannello solare per TI-36X Pro

crwdns2936315:0crwdne2936315:0
crwdns2936321:0crwdne2936321:0
crwdns2931653:02crwdne2931653:0
TI-36X Pro Solar Panel Replacement: crwdns2935265:00crwdnd2935265:01crwdnd2935265:02crwdne2935265:0 TI-36X Pro Solar Panel Replacement: crwdns2935265:00crwdnd2935265:02crwdnd2935265:02crwdne2935265:0
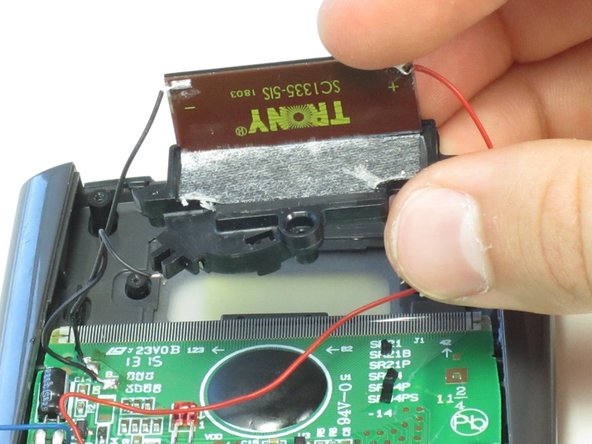
  • Turn the black cover so the solar panel is facing you.

  • Do not use a prying motion when removing the solar panel as this might break it.

  • Insert the flat end of the spudger between the solar panel and the black cover at the corner where the red wire connects.

  • Carefully slide the spudger all the way underneath the solar panel until it detaches from the tape.

  • If the solar panel does not completely disconnect once you have fully inserted the spudger, you can gently pull or pry it the rest of the way off.

Ruota la copertura nera in modo che il pannello solare sia rivolto verso di te.

Non fare movimenti azzardati durante la rimozione del pannello solare in quanto potrebbe romperlo.

Inserisci l'estremità piatta dello spudger tra il pannello solare e il coperchio nero nell'angolo in cui si collega il filo rosso.

Fai scorrere con attenzione lo spudger completamente sotto il pannello solare finché non si stacca dal nastro.

Se il pannello solare non si scollega completamente una volta inserito completamente lo spudger, puoi tirarlo delicatamente o sollevarlo per il terminare la rimozione.

crwdns2944171:0crwdnd2944171:0crwdnd2944171:0crwdnd2944171:0crwdne2944171:0