crwdns2933423:0crwdne2933423:0

ホイップステッチの縫い方

crwdns2931527:0crwdnd2931527:0crwdnd2931527:0crwdnd2931527:0crwdne2931527:0

crwdns2936315:0crwdne2936315:0
crwdns2936323:0crwdne2936323:0
crwdns2931653:03crwdne2931653:0
How to Sew a Whip Stitch: crwdns2935265:00crwdnd2935265:01crwdnd2935265:03crwdne2935265:0 How to Sew a Whip Stitch: crwdns2935265:00crwdnd2935265:02crwdnd2935265:03crwdne2935265:0 How to Sew a Whip Stitch: crwdns2935265:00crwdnd2935265:03crwdnd2935265:03crwdne2935265:0
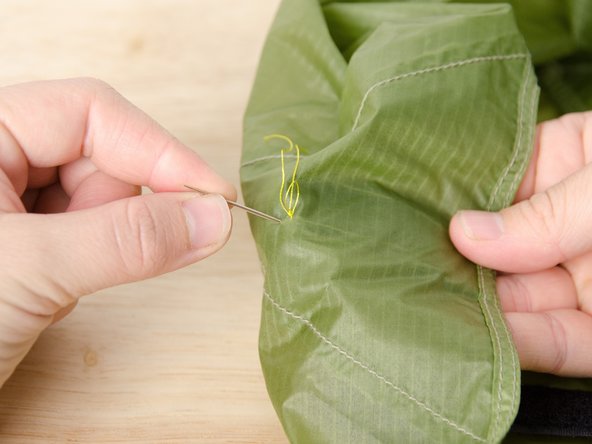
  • Drive the needle down through the top and bottom layers of fabric, close to where the needle came up.

  • The distance between where the needle comes up and goes down will be your stitch length. The smaller the stitch length, the more stitches required—and the stronger the seam.

  • Pull the thread taut on the backside of the bottom material.

針が上がってきた場所の近くで、上下の布地を貫通するように針を打ち込みます。

針が上がっているところと下がっているところの距離が縫い目の長さになります。縫い目の長さが小さいほど、より多くの縫い目を必要とし、より強い縫い目を作ることができます。

底材の裏側で糸をぴんと張ります。

crwdns2944171:0crwdnd2944171:0crwdnd2944171:0crwdnd2944171:0crwdne2944171:0