crwdns2935425:09crwdne2935425:0
crwdns2931653:09crwdne2931653:0


Quality control
-
Remove the garment from the press and check that the new snap clicks into the opposing side.
-
Three concentric circles visible at the center of the snap (reference image #2)
-
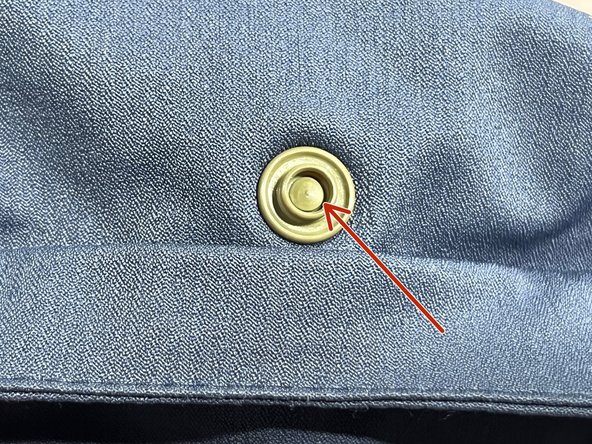
A mushroom dome shape at the center of the snap (reference image #3)
-
If the snap spins in place, the snap isn't secure. Repeat the previous step.
| [title] Quality control | |
| [* black] Remove the garment from the press and check that the new snap clicks into the opposing side. | |
| - | [* icon_note] A properly secured snap will flatten the cap post into the |
| + | [* icon_note] A properly secured snap will flatten the cap post into the socket/stud piece. Depending on the type of snap dies used, this will produce one of two outcomes: |
| [* red] Three concentric circles visible at the center of the snap (reference image #2) | |
| [* red] A mushroom dome shape at the center of the snap (reference image #3) | |
| [* black] If the snap spins in place, the snap isn't secure. Repeat the previous step. | |
| [* icon_note] If you're replacing both sides of the snap, repeat these steps on the other side, ensuring all the proper dies and pieces are used. |
crwdns2944171:0crwdnd2944171:0crwdnd2944171:0crwdnd2944171:0crwdne2944171:0