crwdns2935425:09crwdne2935425:0
crwdns2931653:09crwdne2931653:0


Quality control
-
Remove the garment from the press and check that the new snap clicks into the opposing side.
-
Three concentric circles visible at the center of the snap (reference image #2)
-
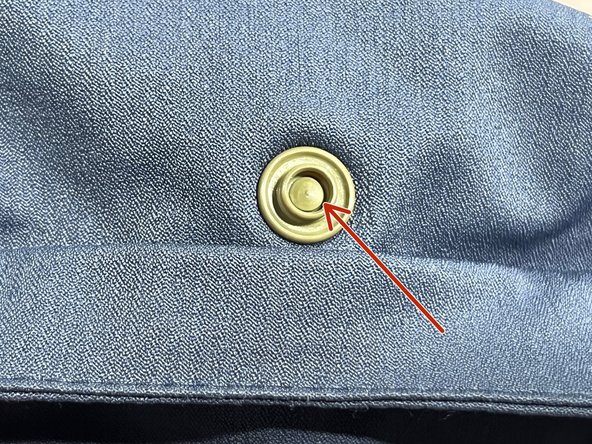
A mushroom dome shape at the center of the snap (reference image #3)
-
If the snap spins in place, the snap isn't secure. Repeat the previous step.
| - | [* black] Release the handle of the hand press, and remove the fabric. |
|---|---|
| - | [* black] Inspect both sides of your snap to make sure that it is laying flat and tight up against the fabric. When you inspect the stud side you should see that the nose of the cap has been pressed into a ring; this is what holds the snap parts together. |
| - | [* icon_note] If the snap is not set all the way, reinsert it into the hand press, aligning it as it was before, and repeat [guide|19445|step 9|stepid=54517] of this guide. |
| + | [title] Quality control |
| + | [* black] Remove the garment from the press and check that the new snap clicks into the opposing side. |
| + | [* icon_note] A properly secured snap will flatten the cap post into the socket/stud piece. Depending on the type of snap dies used, this will produce one of two outcomes: |
| + | [* red] Three concentric circles visible at the center of the snap (reference image #2) |
| + | [* red] A mushroom dome shape at the center of the snap (reference image #3) |
| + | [* black] If the snap spins in place, the snap isn't secure. Repeat the previous step. |
| + | [* icon_note] If you're replacing both sides of the snap, repeat these steps on the other side, ensuring all the proper dies and pieces are used. |
crwdns2944171:0crwdnd2944171:0crwdnd2944171:0crwdnd2944171:0crwdne2944171:0